The WooCommerce Sales badge, often displayed as “Sale” or “Discount,” is a visual cue that highlights discounted products on your online store. It also informs customers about a product’s popularity by displaying the number of units sold. While this badge can be useful, there are scenarios where you may want to customize or remove it entirely from your e-commerce store. This can be done to alter the badge text to convey alternate messages, such as “Bestseller,” “Hot Item,” or “Limited Stock.”
This post will explore how to remove or rename the WooCommerce Sale badge.
Where to Add Custom Code in WooCommerce?
It is advisable to add the code snippets to the functions.php file of your child theme. Access the file directly from Appearance->Theme File Editor->Locating the child theme’s functions.php from the right sidebar. You can also access it from your theme’s directory file. Insert the following code snippet in functions.php. The alternative & easy option is to install & activate the Code Snippets plugin. You can then add the code as a new snippet via the plugin.
Solution: Removing the WooCommerce Sale! Badge
By default, the ‘Sale!’ badge is displayed on the WooCommerce Shop page for the products that are on sale.
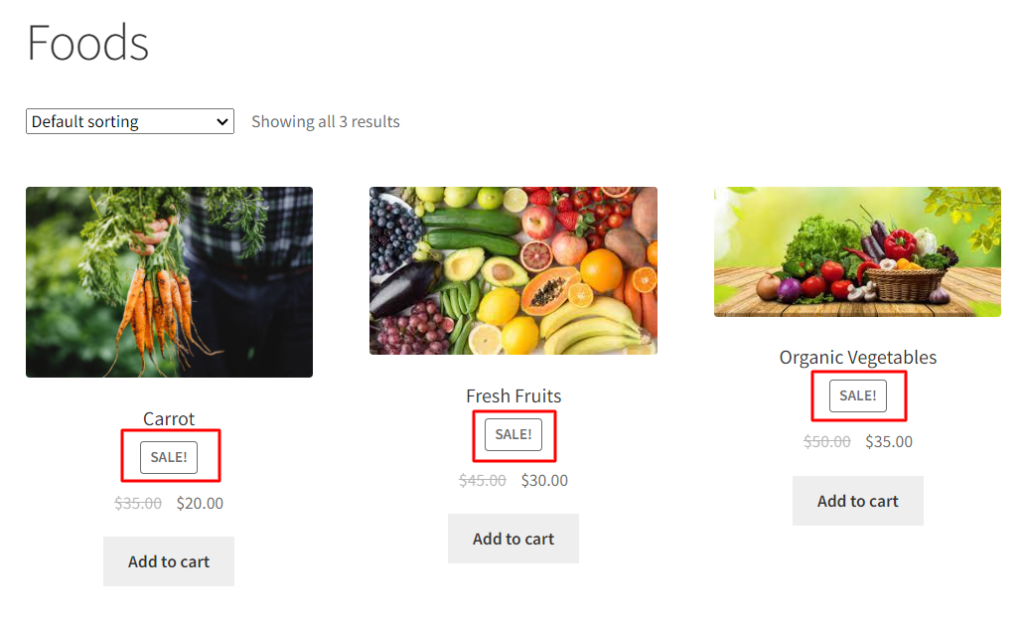
Consider an example of an organic food store that wants to emphasize the quality of its products, not the price.
By using the below code snippet to remove the sale badge, the store can focus on communicating the value of its products in a different way, such as by highlighting the freshness, sustainability, and nutritional value of its products.
remove_action( 'woocommerce_before_shop_loop_item_title', 'woocommerce_show_product_loop_sale_flash', 10 );
remove_action( 'woocommerce_before_single_product_summary', 'woocommerce_show_product_sale_flash', 10 );

add_filter( 'woocommerce_sale_flash', '__return_null' );
Output
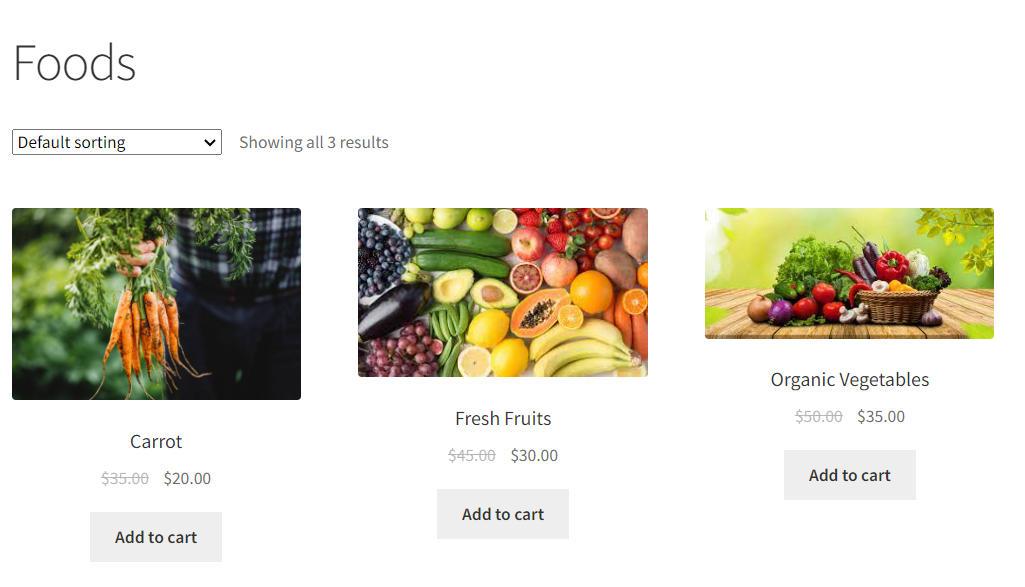
Use Case 1: Remove the “Sale!” badge on the WooCommerce Shop Page
The below output shows that the “Sale!” badge has been removed from the WooCommerce Shop Page.
Use Case 2: Remove the “Sale!” badge on the WooCommerce Single Product Page
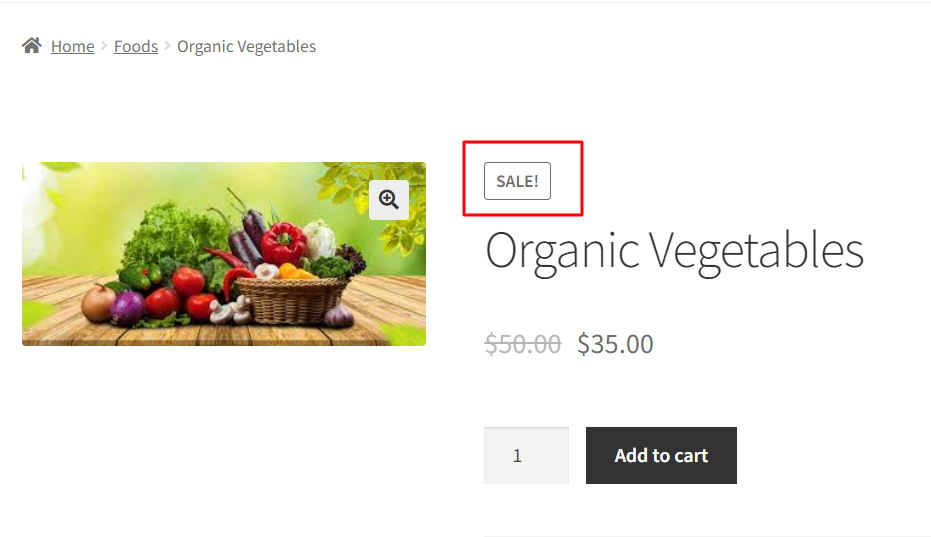
By default, the “Sale!” badge is displayed on the single product page for items that are on sale.
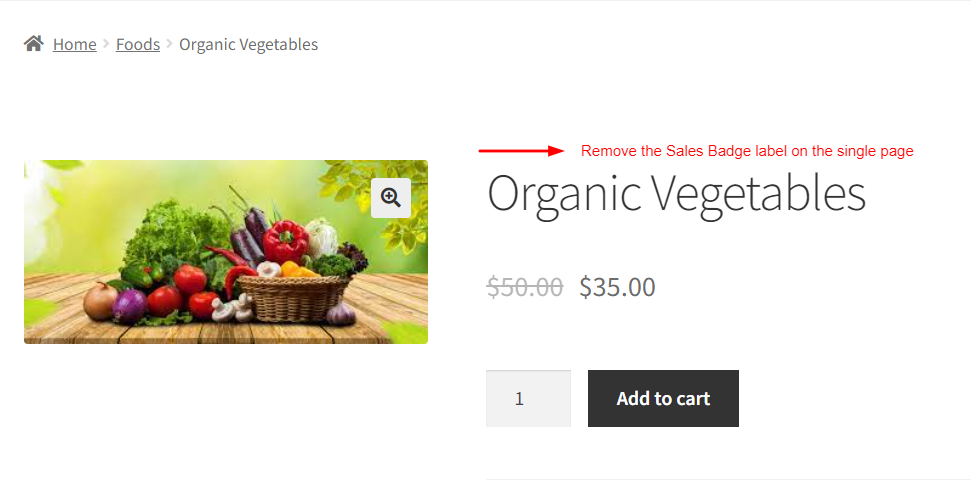
In another scenario, the “Sale!” badge has also been removed from the WooCommerce Single Product Page.

Easily Set Fees & Discounts For Payment Gateways
Finding it difficult to manage all payment gateway fees and adjusting your product pricing accordingly?
The Payment Gateway Based Fees & Discounts Pro plugin is designed to set up fees & discounts for each of your payment modes and simplify your payment process.
Code Explanation
Here is the explanation of the code:-
1. Removing Sale Flash from Product Listing Pages:
The remove_action function is used to remove the sale flash badge from product listing pages (e.g., shop or category pages). It targets the hook woocommerce_before_shop_loop_item_title and the function woocommerce_show_product_loop_sale_flash that adds the badge. Priority 10 ensures it’s removed in the correct order.
2. Removing Sale Flash from Individual Product Pages:
This line removes the sale flash badge from individual product pages. It targets the hook woocommerce_before_single_product_summary and the function woocommerce_show_product_sale_flash. Again, the priority 10 ensures it’s removed at the right time.
3. Using a Filter to Nullify the Sale Flash:
Here, we use a filter to nullify the sale flash text. The woocommerce_sale_flash filter is commonly responsible for changing the badge text. By returning null, we effectively remove any text or content from the sale flash, leaving it empty.
Solution: Renaming the WooCommerce Sales! Badge
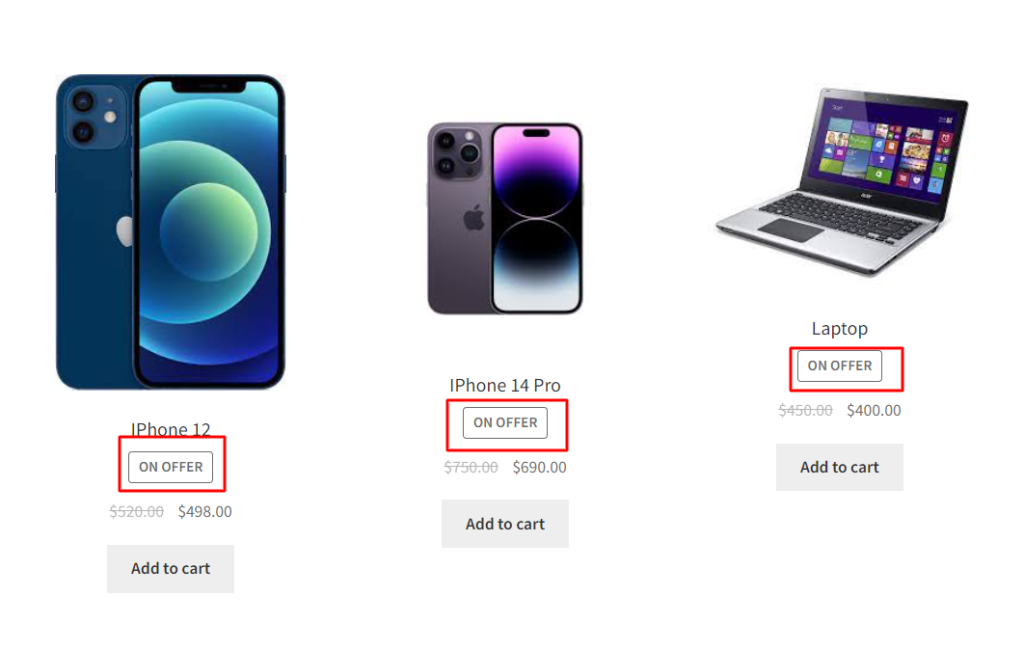
Let’s consider another example of a store that sells electronic devices and accessories and wants to rename the sale badge to “ON OFFER” to align it with its brand identity.
To rename the sale badge, you can use the following code snippet:
add_filter( 'woocommerce_sale_flash', 'ts_rename_sale_badge', 10 );

function ts_rename_sale_badge() {
   return '<span class="onsale">ON OFFER</span>';
}
Output
When the customer visits the Shop Page, it displays the “ON OFFER” text instead of the “ON SALE” badge label, as shown below.
| Related Article: How to Remove the WooCommerce Quantity Field |
Code Explanation
Here’s a breakdown of the code snippets:-
1. Adding a Filter to Modify Sale Flash Text:
In this line, we add a filter to the woocommerce_sale_flash hook. This hook is responsible for generating the sale flash badge. We specify the ts_rename_sale_badge function as the callback, and the priority is set to 10. This filter allows us to change the text content of the sale flash badge.
2. Defining the Function:
Here, we define the ts_rename_sale_badge function. The filter calls this function. It returns the modified HTML content for the sale flash badge:
- We encapsulate the new text “ON OFFER” within an <span> element.
- We apply class=”onsale” to the <span> element. This class can be used for custom styling using CSS.
- The text “ON OFFER” replaces the default “Sale!” text, effectively renaming the sale flash badge.
Conclusion
The above code snippets will remove or rename the sales badge from the shop and single product pages in WooCommerce. In addition, you can also display the % discount on the sales badge on the shop page in WooCommerce to better suit your brand or marketing goals.


