The first step in setting up your Booking & Appointment for WooCommerce Plugin is to install WordPress and the WooCommerce plugin. Once the store is ready, follow below mentioned steps to install and activate Booking & Appointment Plugin:
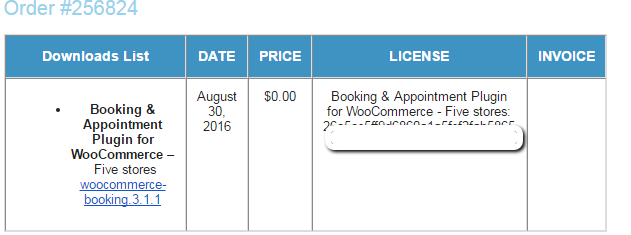
- Download the zip file of the plugin from the email you have received after purchasing this plugin.

Email sent to you when you purchase the plugin - Go to WordPress Admin > Plugins > Add New to upload.
- Click Upload Plugin at the top.

Upload Plugin and select .zip file - Click Choose File and select the .zip file which was downloaded in step 1. Select Choose.
- Click Install Now.

Installing Plugin page - Once installed, click on ‘Activate Plugin’ option and you will be able to see that the Booking & Appointment Plugin for WooCommerce is activated.

By following this simple 6 steps your installation for Booking & Appointment Plugin for WooCommerce is finished.
Once the Plugin is installed and activated, you need to save the license key you have received in the email while purchasing this plugin. This is required to update your plugin from plugin page automatically.
Below mentioned are the steps to save and activate your license key:
- Go to Booking -> Activate License.
- Enter the license key provided to you via email in the “License Key” field.
- Click on Save Changes button.
- Click Activate License button.

Plugin License Page - “Active” status will be shown in the green color along with the Deactivate License button.

Active License Page - Now your plugin will get all updates. This plugin works even if the license key is not active on your website but you won’t get any update notifications, hence it is recommended to activate your license for the plugin.
This plugin is now ready and you can turn your WooCommerce store into a full-fledged Booking & Reservation system.