In the last post, we saw how to import events from Google calendar at Global Level. In this post, we are going to see how to import events from Google Calendar at the Product level and automatically map those events to the WooCommerce bookable products on your store using Booking & Appointment Plugin for WooCommerce.
We recommend using Product Level import & not Global Level import unless you want to keep the import process manual. Since global level import requires manual intervention to map the calendar events to WooCommerce products, whereas Product Level import is fully-automated & doesn’t require any mapping as the calendar is directly linked to the product.
In this post, we will understand step by step setup for the Product Level import.
Step 1: Calendar Settings in Google Calendar
Let’s start with creating a new Calendar from which we need to import the events.
For doing that go to Google Calendar, click on My calendars, and then click on Create new calendar. Then give the appropriate Calendar Name and click on Create Calendar.

Once clicked on Create New Calendar, it will navigate to Create New Calendar page where we have to set the Calendar Name. I have set the calendar name as Hotel Reservation Details.

You can skip this step if you have an existing calendar from where you want to import the events & go directly to Step 2.
Step 2: Creating events in Google Calendar
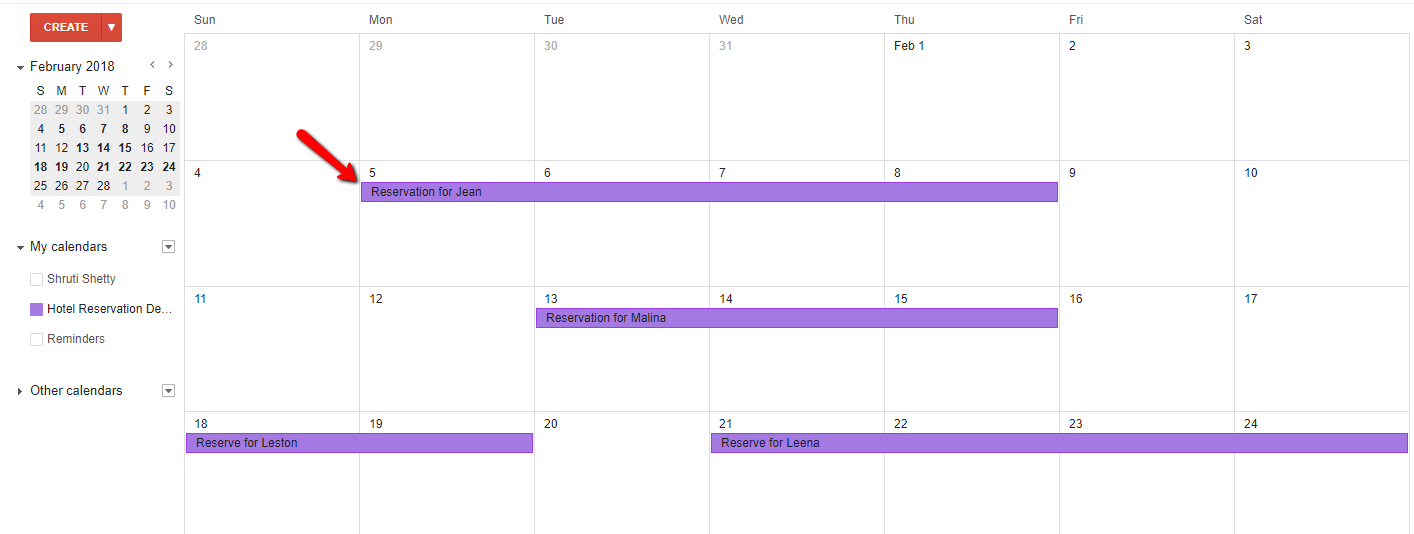
Create an event in the calendar for the dates which you need to import.
You can skip this step if the events are already created in the Google Calendar and go to step 3.
Step 3: iCalendar/.ics Feed Setup for Import Booking
Let us go to the product for which you have to import the events in Products -> All Products. If you don’t have the product already created on your site then create a new product from Products -> Add new in WordPress Dashboard.
In the Booking meta box go to the Integrations tab, where we show two features – one is Google Calendar Sync and another is Zoom Meetings. Here we need to enable the option Enable Automated Mapping for Imported Events to automatically import the events from the Google Calendar.
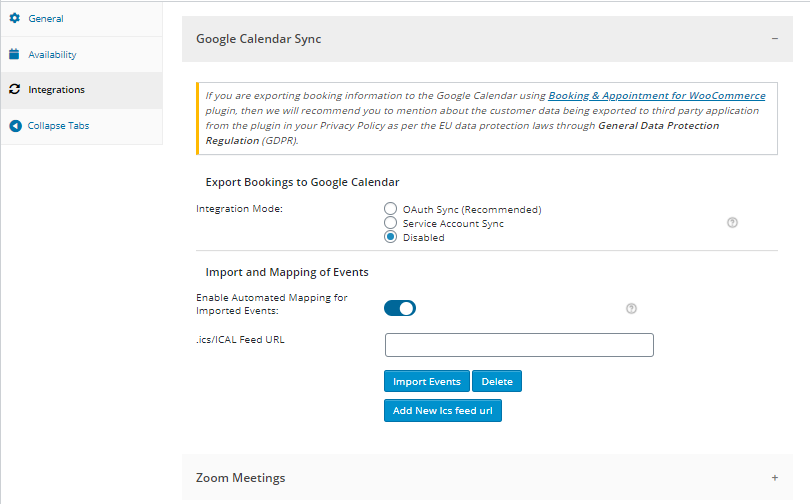
Now you need to enter the calendar URL from which you want to automatically import the events, in the .ics/ICAl Feed URL field as shown in the above screenshot.
You will get the .ics/ICAl Feed URL of your calendar in the following ways:
a. If the calendar from which you want to import the events is a private calendar, then copy the .ics URL from the Google Calendar page under Calendar Settings -> Private Address and click on ICAL button and copy the ICAL URL.

b. If the calendar is public calendar then it’s necessary to ensure that the Share only my free/busy information (Hide Details) checkbox is unchecked in Google Calendar page inside Calendar Settings -> Share this Calendar. This is to ensure that the plugin can capture the event summary & event description.

You need to paste the copied ICAL URL in Booking meta box under the Google Calendar Sync tab inside the Import and Mapping of Events option.
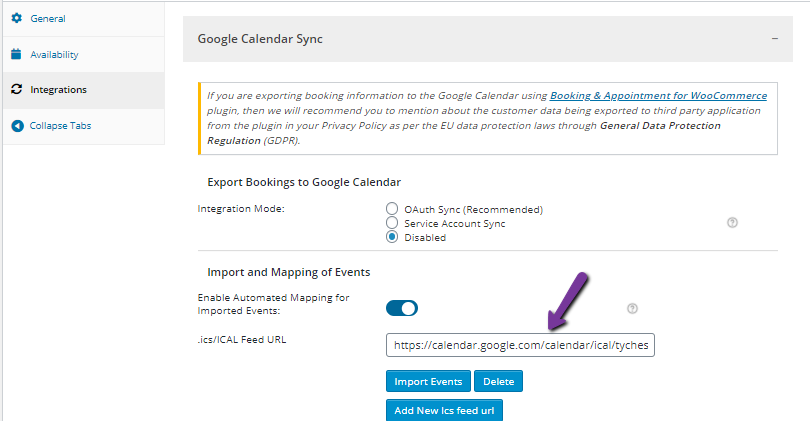
Click on Save Changes button and Publish/Update your pr0duct.
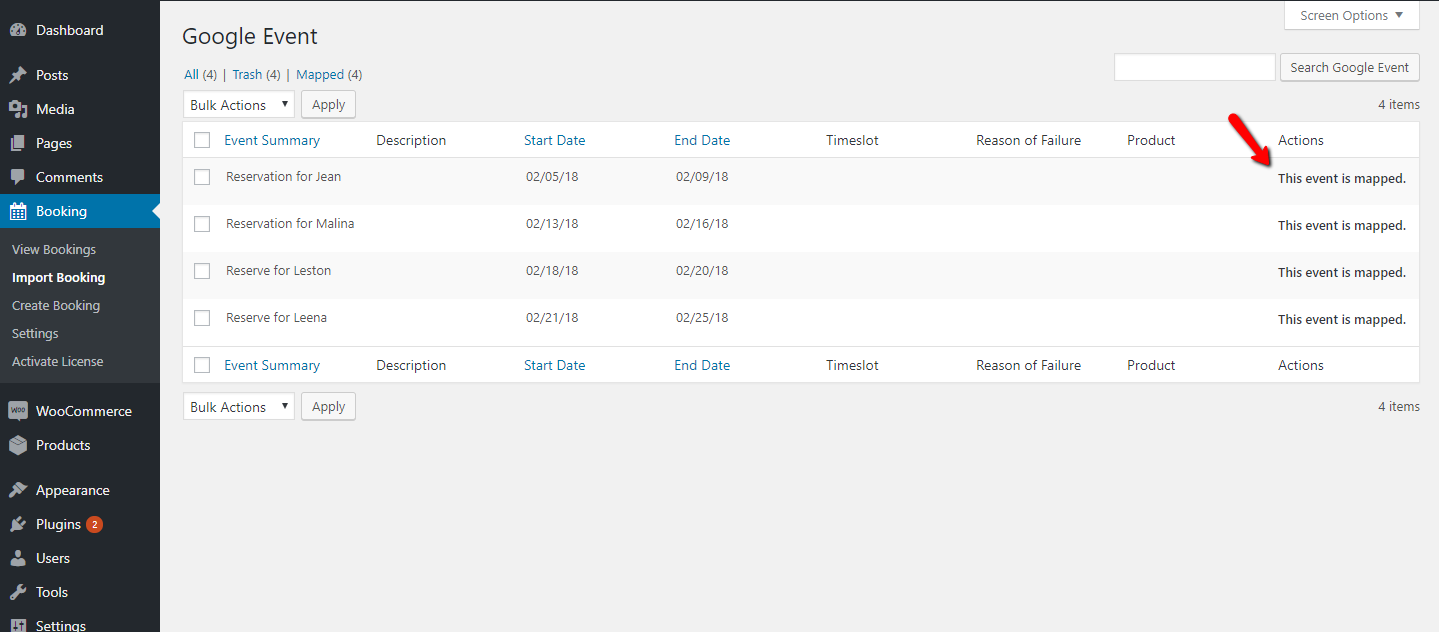
Once the product is Published/Update, all the events from the google calendar you created will get imported and will automatically get mapped in Booking -> Import Booking in Booking & Appointment Plugin.
If the product is available for booking, then the availability of the same product will get updated.
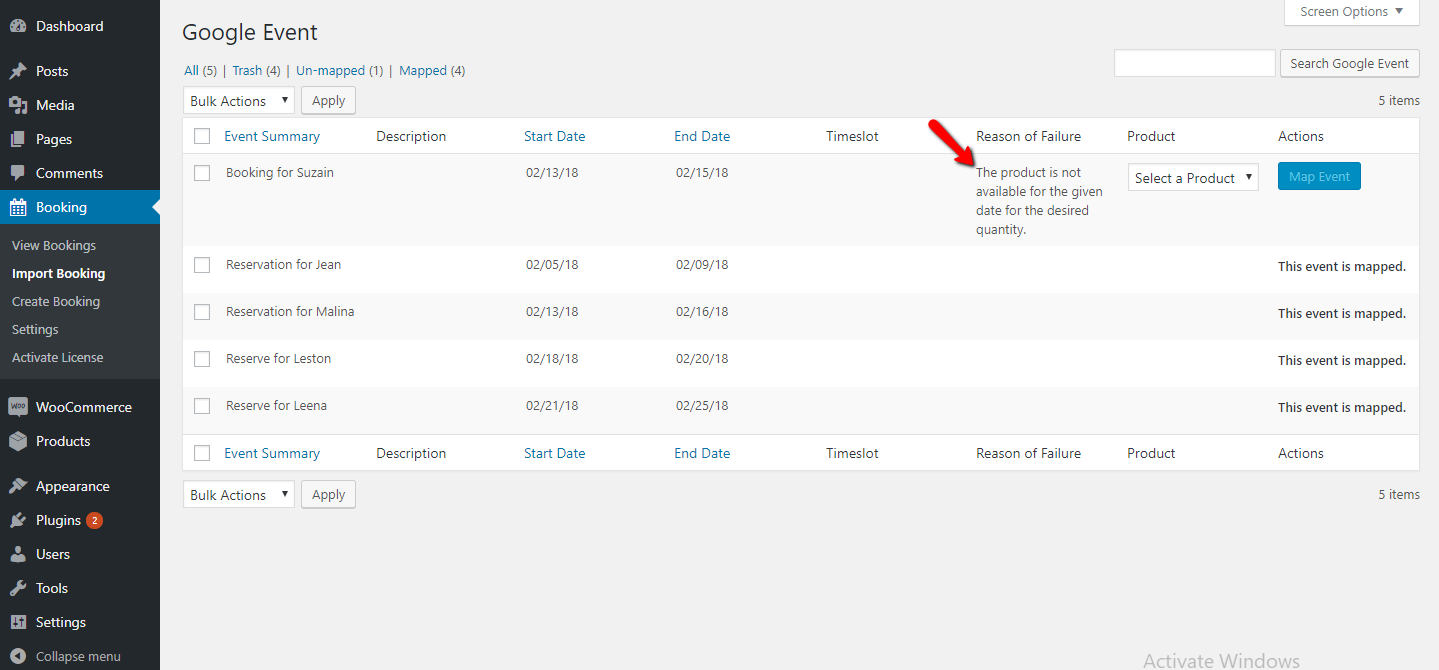
If the selected product is not available for booking then it will display the message The product is not available for the given date for the desired quantity and the imported event will not get automatically mapped with the respective product.
In case the events from the Google Calendar are not listed on Import Booking page then check whether the link entered in iCalendar/.ics Feed URLs option is correct for the calendar from which you are importing the events.
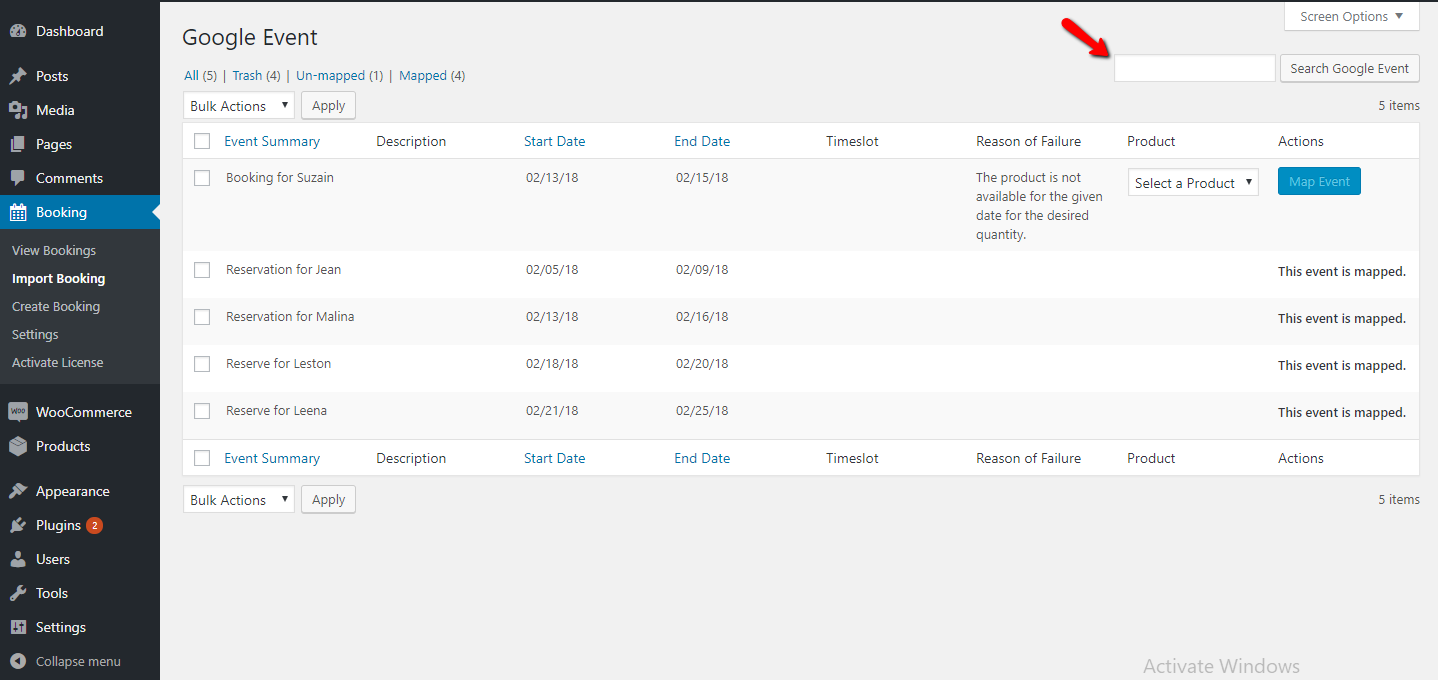
Also, try searching for the event on Import Booking page in Search Google Event because there are chances that the imported event will go on some another page when many events are imported at a time.
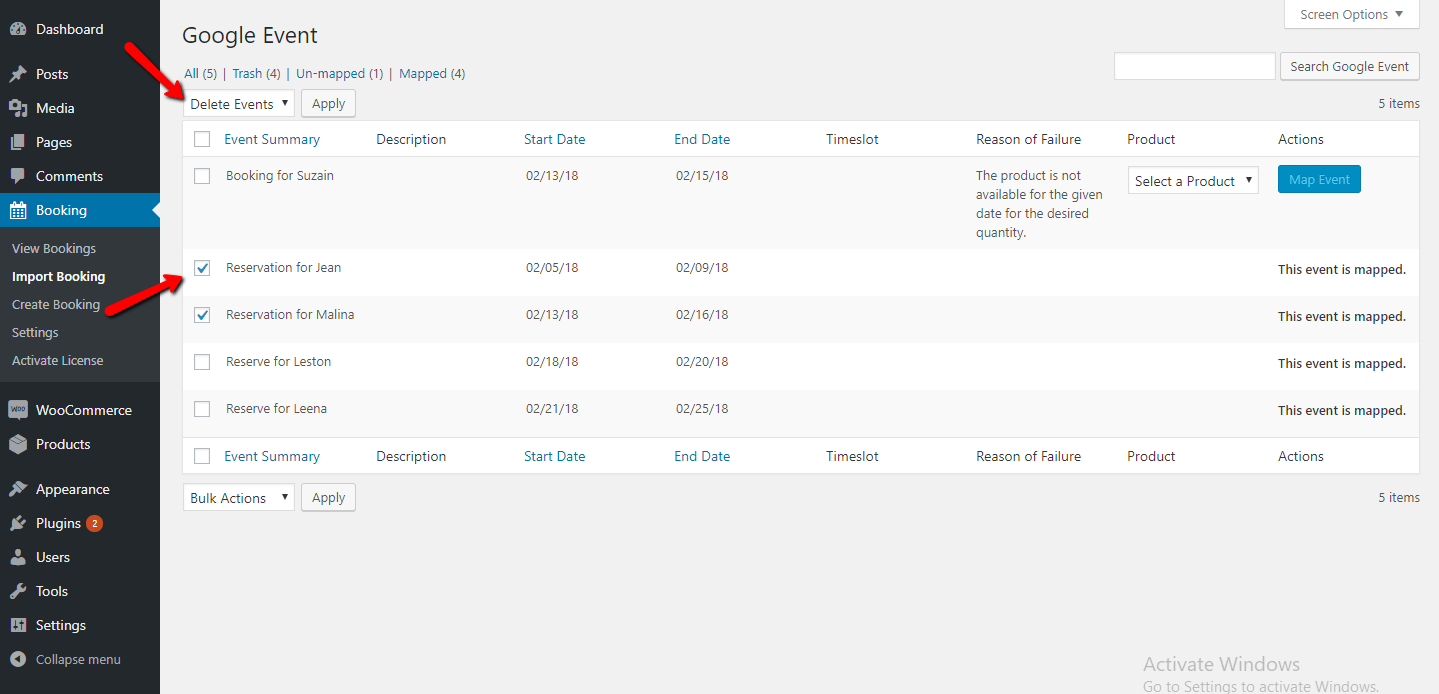
You can delete the imported events from Bulk Actions or also by selecting the events individually from Booking -> Import Booking page of our Booking & Appointment plugin.
a. To delete the imported events in bulk, check the checkbox beside Event Summary and select Delete Events from the drop-down and click on Apply.
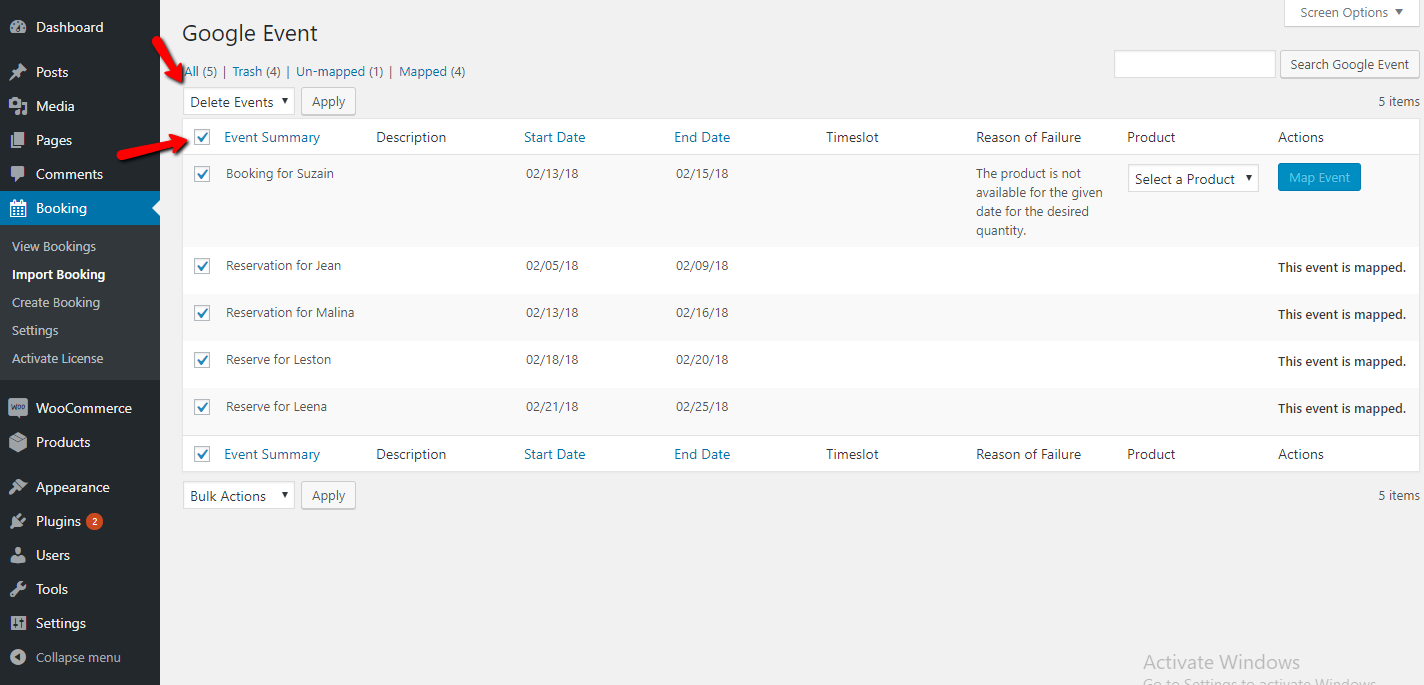
b. To delete the events individually, select the particular events you want to delete select Delete Events from the drop-down and click on Apply.
Conclusion
In this post, we saw the complete setup of importing an event from the Google Calendar to our website at Product Level.
Importing and mapping events are more important when you are taking bookings from more than one place.
For example, if you are running a Train Reservation System and you have 10 seats available for booking.
Suppose you are taking bookings from multiple ways, like from your website and also on phone and your product is listed on other websites too. Here it becomes necessary to ensure that no overbookings are done.
This can easily be managed by using the 2 way Google Calendar Sync feature of the Booking & Appointment Plugin.
Whenever you take a booking from any source other then your website, all you need to do is create an event for the same in your Google Calendar. The Booking plugin will then import the event into the website.
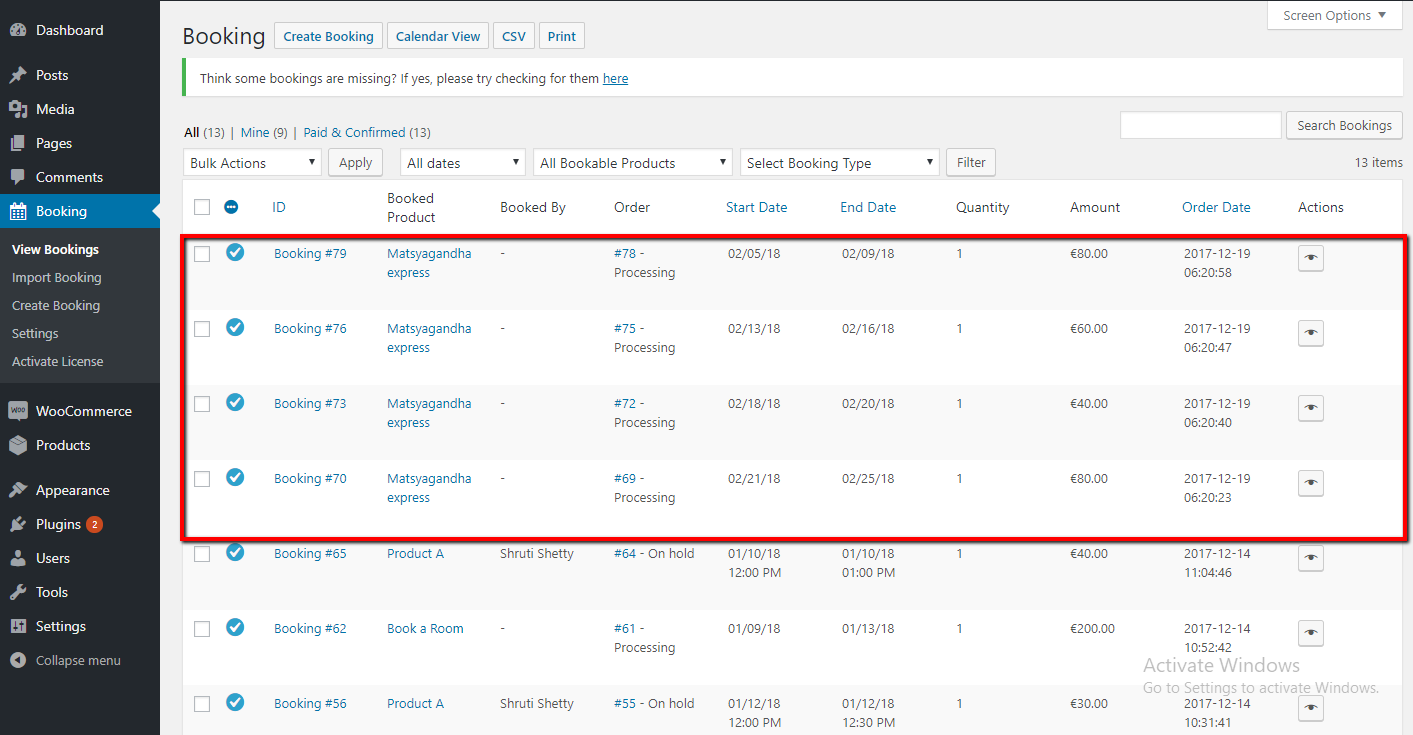
Then the product will automatically get mapped with the product in which ICAL URL for the same calendar is entered. Then an order will get generated in WooCommerce -> Orders and availability will be updated. You can also keep a track of all the bookings received from Google Calendar in the Booking -> View Bookings page.
The setup can take around 10 minutes to complete if you are setting it for the first time.
