Global Settings
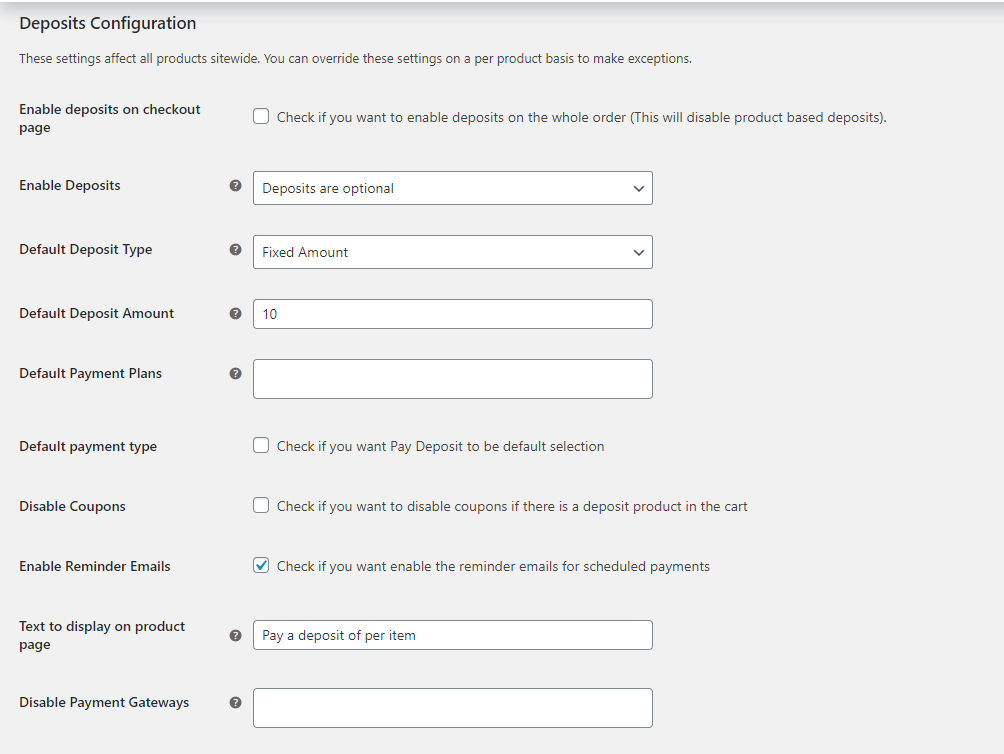
Go to WooCommerce > Settings > Products > Deposits.

Enable Deposits on Checkout Page: Enable this option to display and calculate the deposit amount on the checkout page for the whole order instead of individual products.
When the above option is enabled, the new setting “Minimum cart amount to enable checkout based deposit” will appear which means that on the checkout page if the cart total is more than the minimum amount set in the setting, then only the deposit option will appear on the checkout page.
Suppose, the minimum cart amount set is $1000, and the price of the product is $799 and we have enabled the deposit on the checkout page.

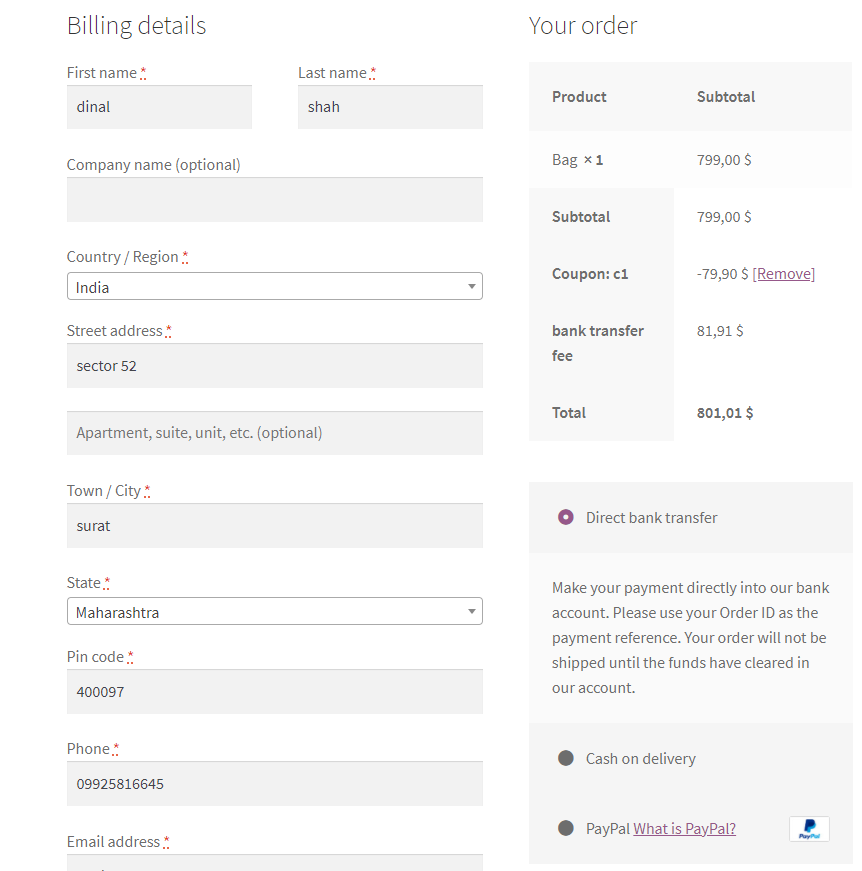
So, after setting this, the deposit option will not appear on the Checkout page.

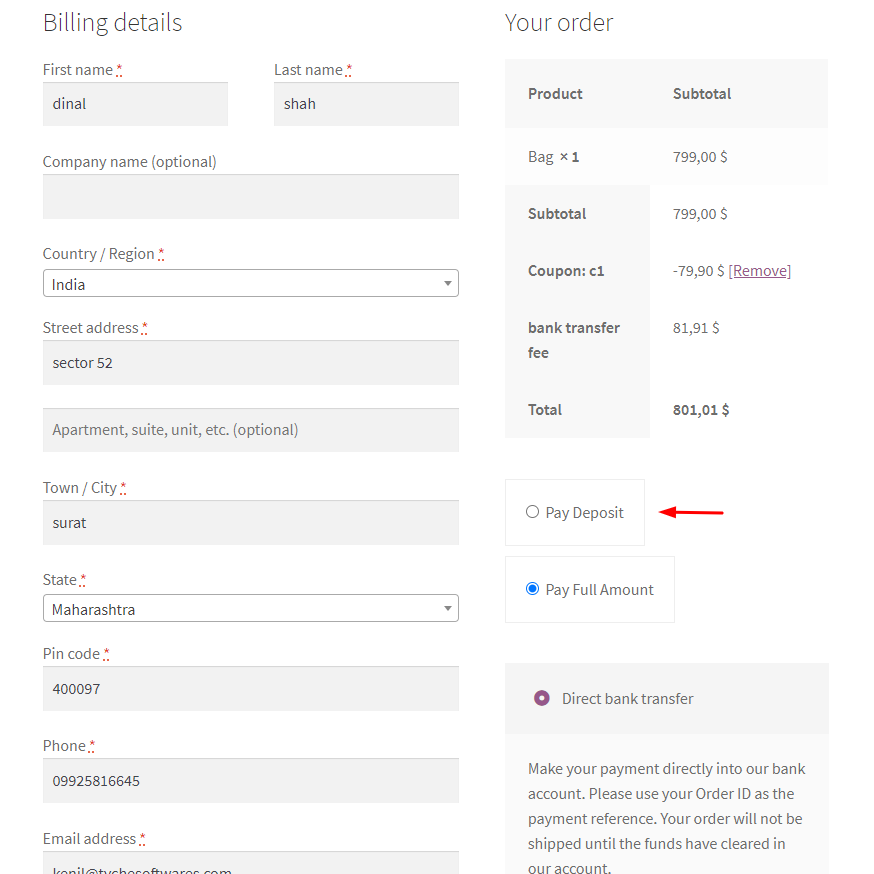
Now, if the minimum cart amount is set to $500 and the product amount is $799, then the deposit option will appear on the checkout page.

The deposit option on the checkout page will show like this:

Enable Deposits – Select whether you want to enable deposits on all products.
- Deposits are optional – Users will have an option to pay the deposit or full amount.
- Force Deposits – Users will be forced to pay the deposit on the products.
- No – Disable deposits.
Default Deposit Type – Select the default type for the deposits.
- Fixed Amount – Users will pay a fixed amount of deposit on the products.
- Percentage -Users will pay a specified percentage of the total price of the product.
- Payment Plans – Let users select payment plans.
Default Deposit Amount – Enter a deposit amount based on the selected deposit type (Fixed or Percentage).
Default Payment Plans – Add multiple payments plans to let users select from them.
Plugin License Options –
- Enter the license key provided to you via email in the “License Key” field. Save Changes and activate the license.
- Now your plugin will get all updates. This plugin works even if the license key is not active on your website but then you won’t be getting any update notifications, hence it is recommended to activate your license for the plugin.