Order Delivery Date Pro for WooCommerce plugin helps you set up custom delivery schedules for the different shipping zones based on zip/postcodes.
This document will cover-
Let us first understand the process of setting WooCommerce shipping zones based on postal codes.
What are Shipping Zones?
Shipping Zone refers to a geographical area where you ship the products that have been ordered online. This could be a country, a group of countries, specific states/provinces or zip/postcodes.
When a customer places an order online, they can see the Shipping Methods available for the area mentioned by the customer for delivery. It can match only one zone.
For instance, let’s say that you’ve created these zones in WooCommerce:
Zone Name – Domestic
Zone Region – South America, Zip 2 020
Shipping Method – Flat Rate Shipping
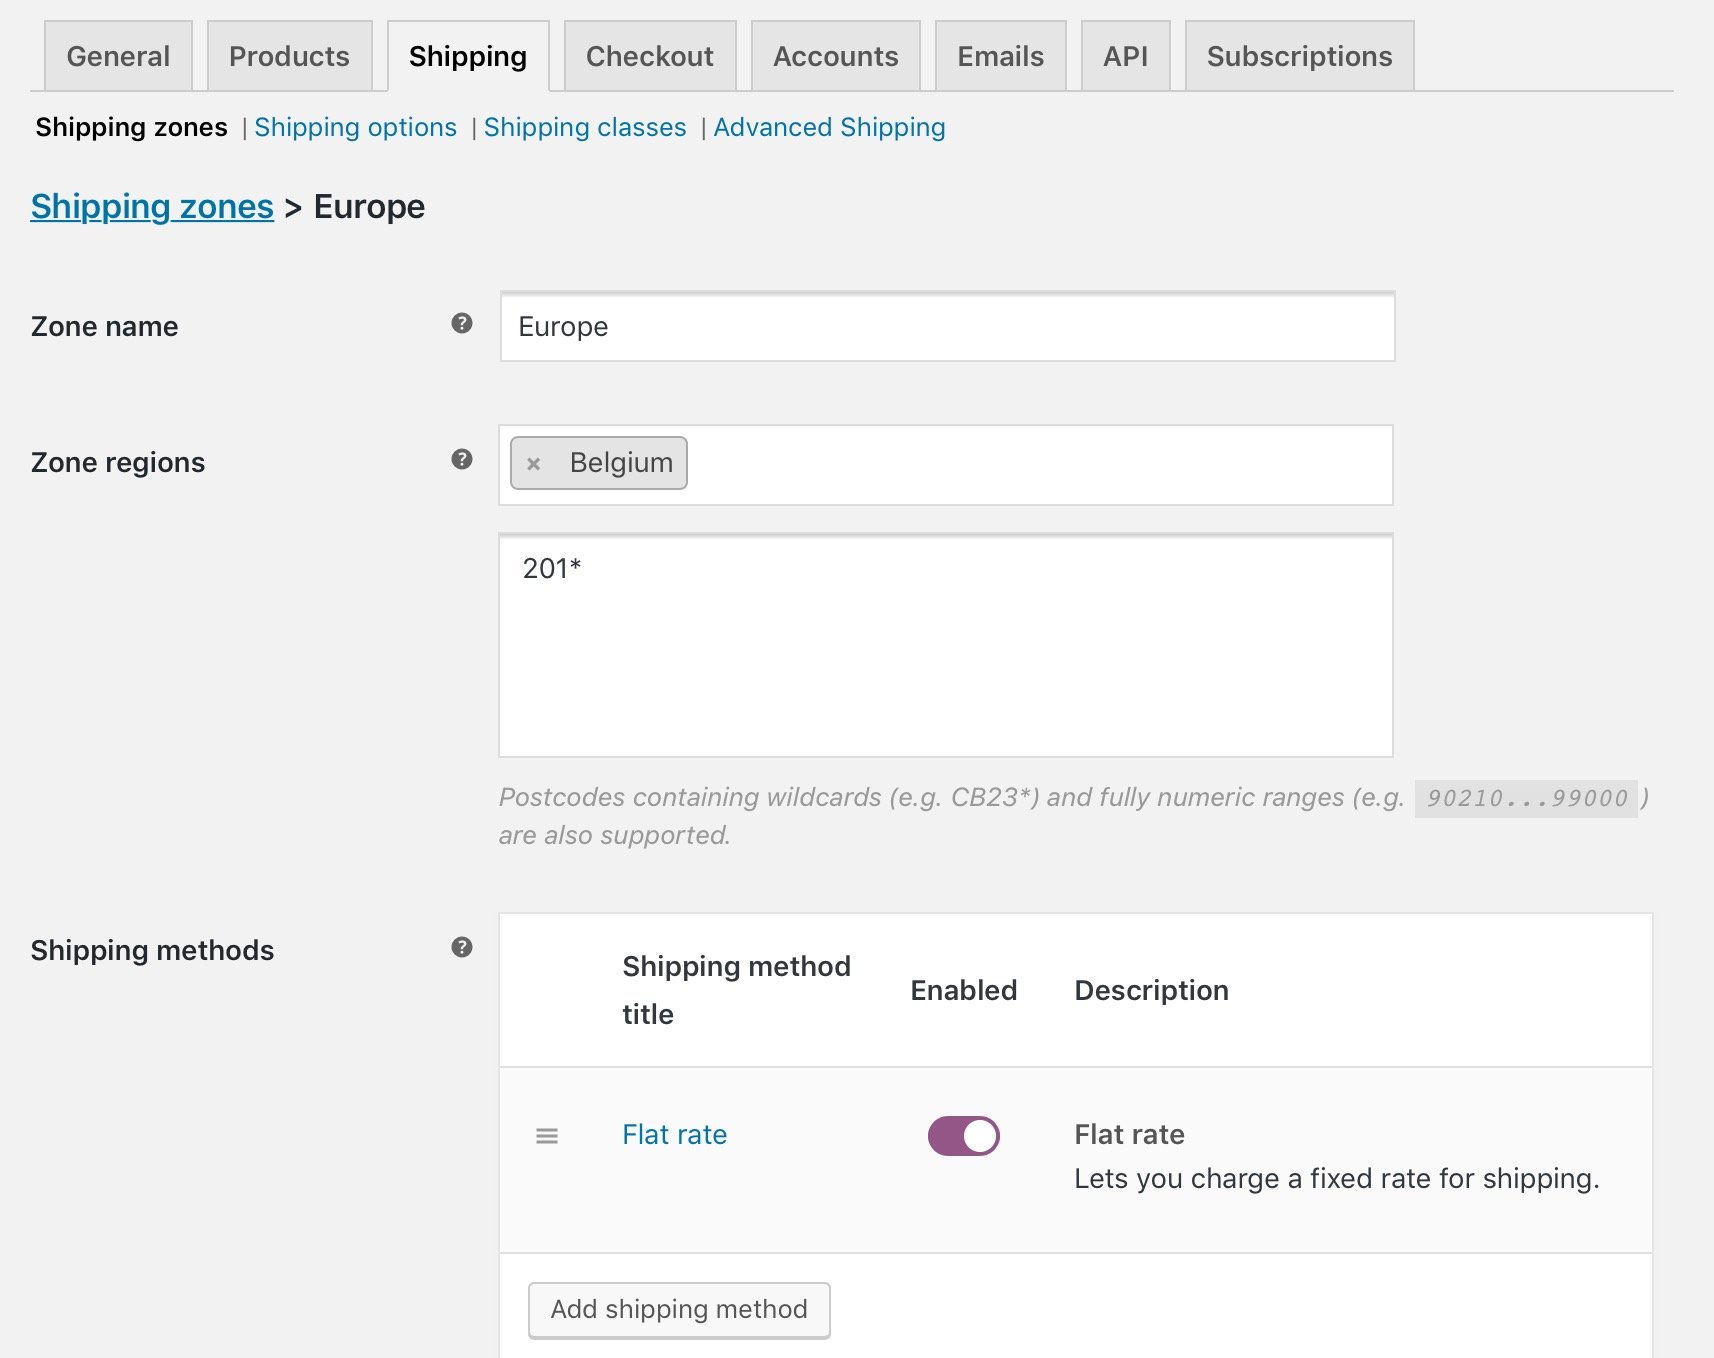
Zone Name – Europe
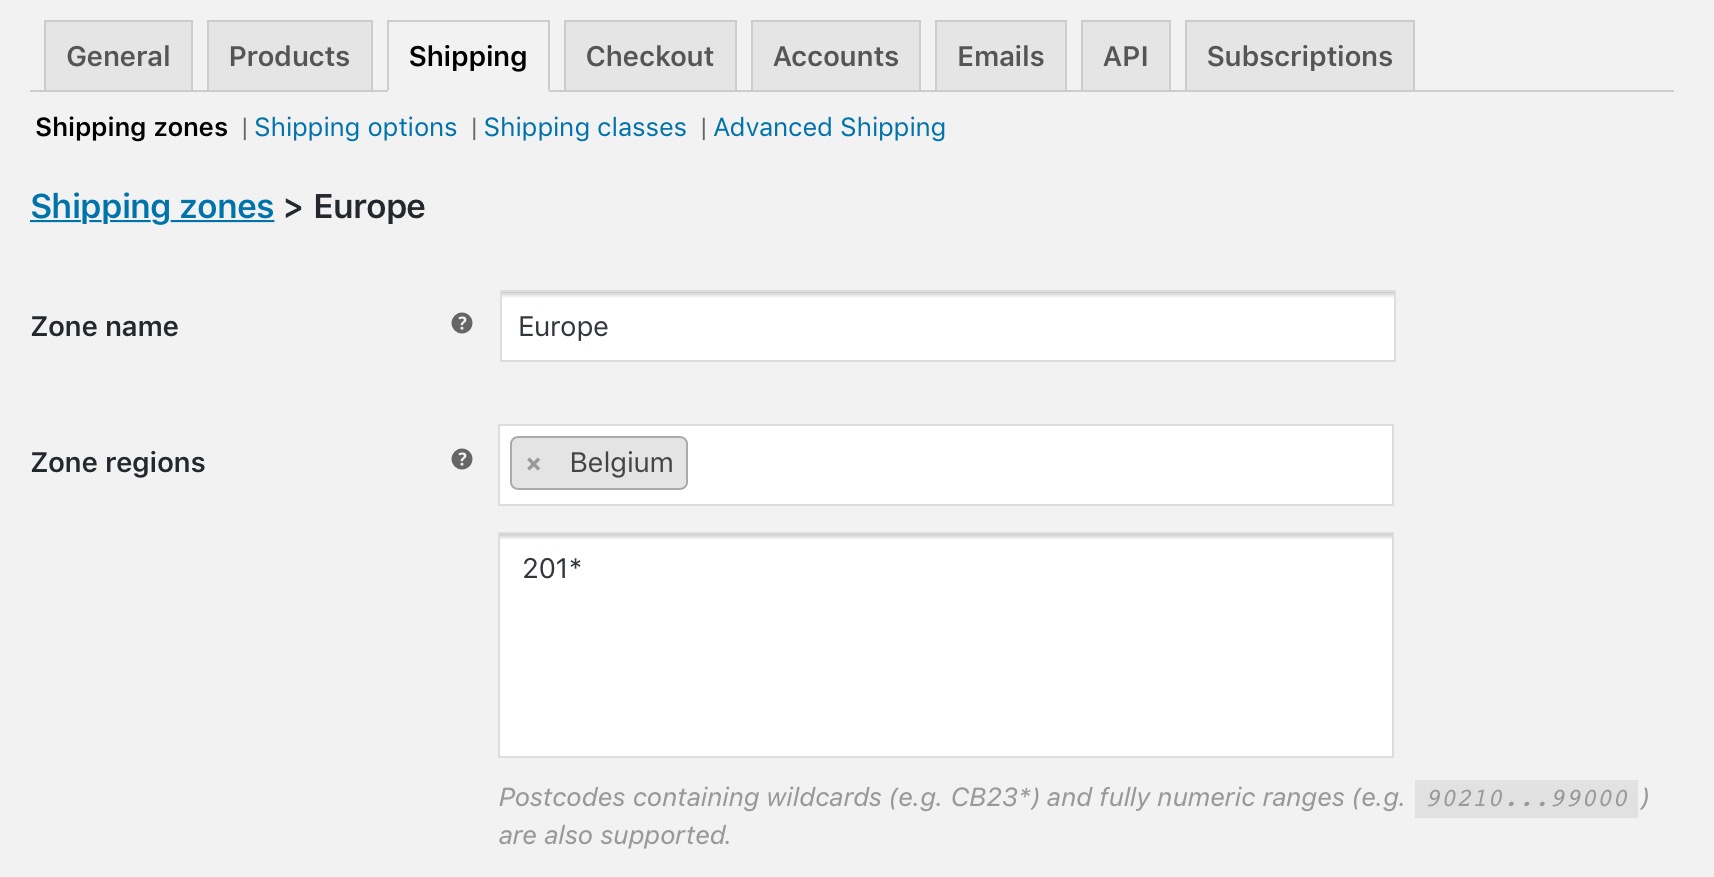
Zone Region – Belgium, Zip 201*
Shipping Method – Flat Rate Shipping
So, when a customer from South America with zip code 2 020 places an order, Flat Rate shipping method will be available on the checkout page.
A. Adding Shipping Zones based on Zip/Postcodes
This mode of setting shipping zone based on zip/postcodes defines the most specific geographic shipping areas for delivery. They’re extremely useful for businesses that offer an In-Store Pickup facility.
In WooCommerce, you are allowed to add multiple shipping zones with each of these zones having its own shipping methods set.
Let us have a look at how this can be done:
1. Creating Shipping Zones
Go to WooCommece -> Settings -> Shipping -> Shipping Zones. Click the Add Shipping Zone button:

Add details like zone name and region with its postcode. Here, regions can be either continents, countries, states or provinces.

2. Adding Zip/Postcodes
To create shipping zones based on zip/postcodes, you need to click on the Limit to specific Zip/postcodes link below the Zone regions field as shown below:

This way you can further narrow down to match the customer to its zone. For instance, you can set one local zone and select specific set of postcodes or range of postcodes as shown in the image above in point no.1. You can even set wildcards for setting zip/postcodes.
Below image shows the postcode set for the Belgium region using wildcards:

Important Notes –
- Postcode refers to a single code like 90210.
- Range of postcodes refers to that with a starting code and ending code where all the codes within them are considered, like 90210…99000
- Use of wildcards refers to all codes starting with a specific set of letters and numbers, like CB23*.
3. Selecting Shipping Methods
Select the Shipping Methods to be available for this shipping zone and click on Save:

For instance, the below image shows all the added shipping zones based on zip/postcodes and its shipping methods:

This shows 3 different shipping zones namely West Zone, Domestic, and Europe with regions and postcodes added for them.
Let’s say a customer from South America orders online and requests shipping to an area with postcode 2 020 or ranging between 90001 to 96162. Based on our settings, Flat-Rate Shipping Method will be displayed on the Checkout page.

Similarly when a customer from Belgium places an order to be shipped to an address with a postcode starting with 201, then Flat Rate shipping method will appear on the checkout page.
B. Creating delivery schedules with postcodes
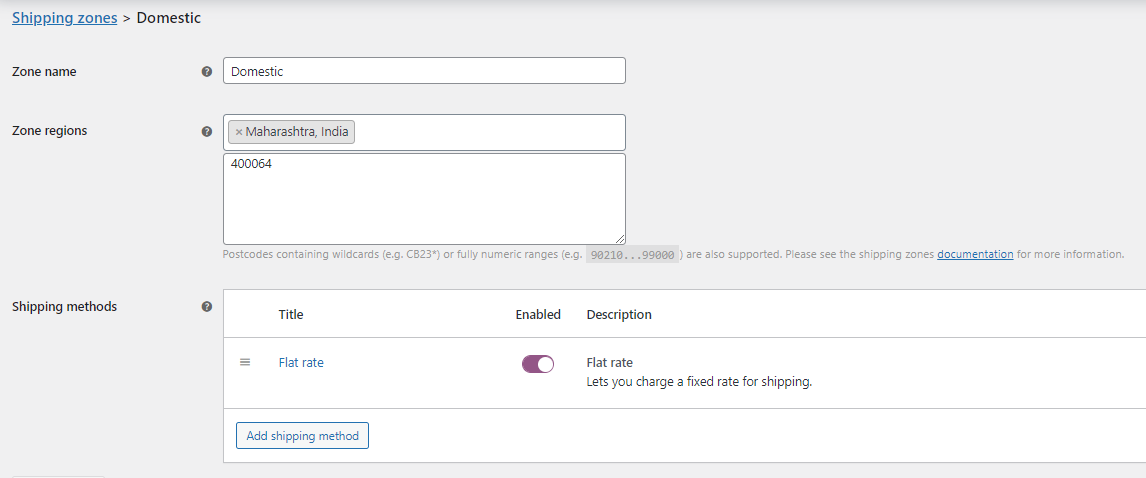
Let’s start with an instance. We want to create a delivery schedule for the Domestic zone. We’ll create it with the postcodes.

Then, go to Order Delivery Date -> Settings -> Delivery Schedule.

Scroll down and find the ‘Add new custom delivery schedule’ button. Click on it.

Go to Shipping Methods and select the added Shipping Zone. We’ll go with Domestic which means that all the settings added for Flat Rate shipping method will be considered.

Based on this you can configure the delivery date and time settings from the different dropdowns such as Date, Time, Holidays, etc.
Once done, your schedule will look like this:

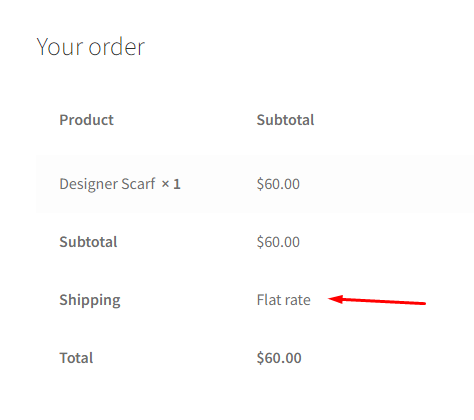
When the customer adds an item to the cart and if the address on the Checkout page has the pin code that’s been added in your shipping zone, then Flat Rate shipping method will be displayed as shown below:

Along with this, the delivery calendar will show the delivery days of Flat Rate shipping method enabled and rest disabled.

Note – When the postcode added on the checkout page does not match with the ones added in WooCommerce shipping zones, then default delivery schedules will be considered.
Based on what you learned today, it’s time to now create your custom delivery schedules using these added postcodes.