In our last post, we discussed how to change the layout of the Delivery Date calendar. Here we will discuss how you can change the labels for Delivery Date & Time fields in Order Delivery Date Pro for WooCommerce plugin.
Field labels describe the required information for the fields for each store. So, you can set up the fields labels as per your store’s requirements.
You can change the delivery date field label, time slot field label, and a few more options on the checkout page. All the options are explained in this post. Setup this under Order Delivery Date -> General Settings -> Appearance -> Field Appearance.

Here is the Field Appearance section where you can change the field labels:
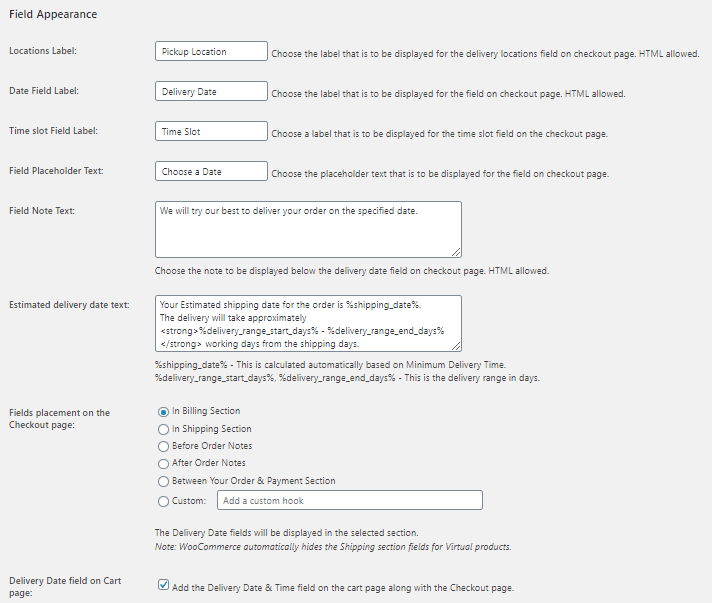
Locations Label: Admin setting
Locations label option allows you to change the label for the delivery locations field on the checkout page. The default label for locations label is Pickup Location. Some other possible labels for this could be Delivery Location or Preferred Pickup location. This label is especially useful if your store has a few different pickup locations.
Locations Label: Checkout Page
This is how the locations label will appear on the checkout page.

Date Field Label: Admin setting
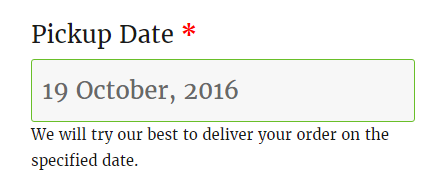
Each individual has a different name to show for their delivery date field on the checkout page as per their store’s requirements.
The date field label option allows you to change the label for the Delivery Date field on the checkout page. For example, if you have a store where you only provide pickup for your products and do not deliver them, then you can set the Delivery date field label as Pickup Date. Another label option for the field could be the Preferred Delivery Date for the deliverable products.

The default label for the delivery date field is Delivery Date. You can change it as per your requirements.
Date Field Label: Checkout page
This is how the date field label will appear on the checkout page.
Time slot Field Label: Admin setting
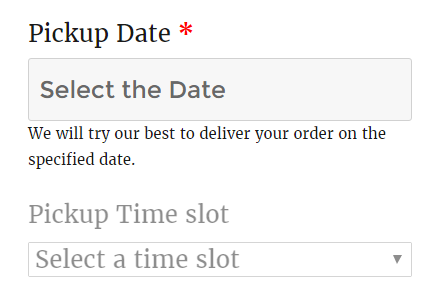
Same as the Date Field Label, the time field label allow you to change the label for the Time slot field on the checkout page. For example, if you have a store where you provide pickup time along with pickup date. So you can set the label as Pickup Time Slot for the time slot field. Another label option for the field could be Preferred Time Slot for the deliverable products.

The default label for the time slot field is the Time slot. You can change it as per your requirements.
Time slot Field Label: Checkout page
This is how the time slot field label will appear on the checkout page.

Field Placeholder Text: Admin setting
The placeholder specifies a short hint that describes the expected value of an input field. It will disappear when you will start selecting the date in the field.
To set placeholder text for the delivery date field on the checkout page, you need to add your text message in the Field Placeholder Text textbox. You can set the placeholders like Select the Date or Choose your Pickup Date. The default placeholder text is Choose a Date.

Field Placeholder Text: Checkout Page
Your placeholder text will display like this in the delivery date field on the checkout page.
Field Note Text: Admin setting
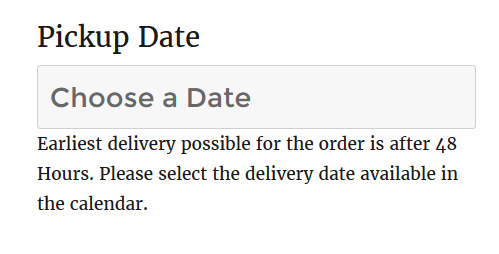
Field Note Text option allows you to give additional information or a note for the deliveries. For example, if you require a minimum of 48 hours to prepare for delivery, then you can provide this information to your customers giving a note as the Earliest delivery possible for the order is after 48 Hours. Please select the delivery date available in the calendar.
Other examples for Field Note Text are:
- For earliest delivery, please refer to our delivery policy.
- Orders set for pickup will be available after 2:00 PM on the scheduled day.

The default Field Note Text is We will try our best to deliver your order on the specified date.
Field Note Text: Checkout Page
The field note text added will be displayed below the delivery date field on the checkout page.
Estimated delivery date text: Admin Setting
If you select ‘Text Block’ under the Delivery Checkout option in Order Delivery Date > Settings > General > Date settings, then on the checkout page you will find a text displayed with the estimated delivery date.
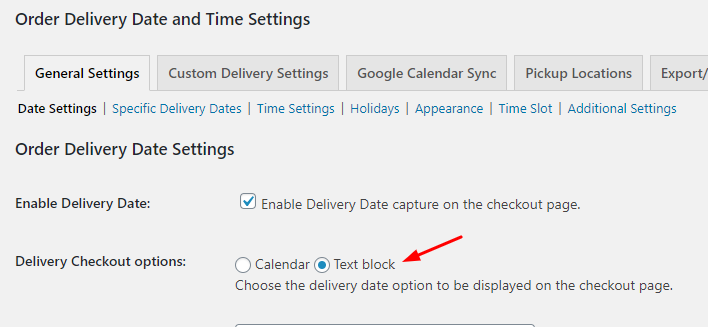
After enabling this setting, you can configure or change the text block note by going to Order Delivery Date > Settings > General Settings > Appearance > Estimated Delivery Date Text.
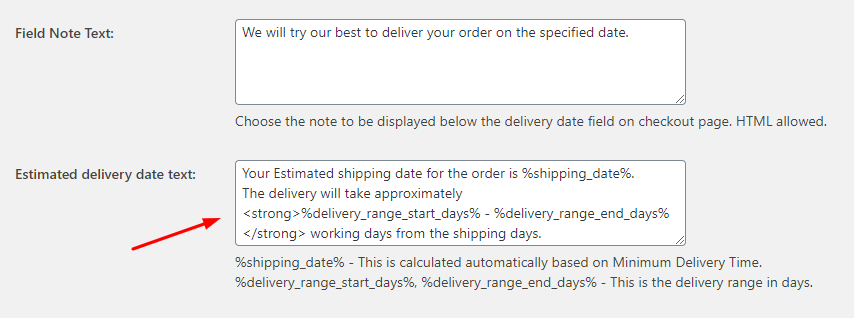
Estimated delivery date text: Cart and Checkout Page
Here’s how they will appear on the Cart and Checkout Pages-
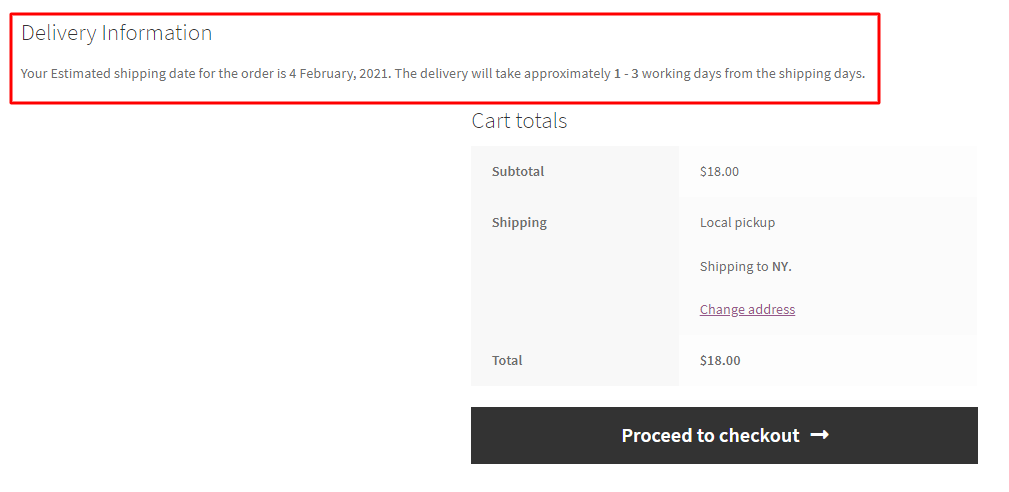
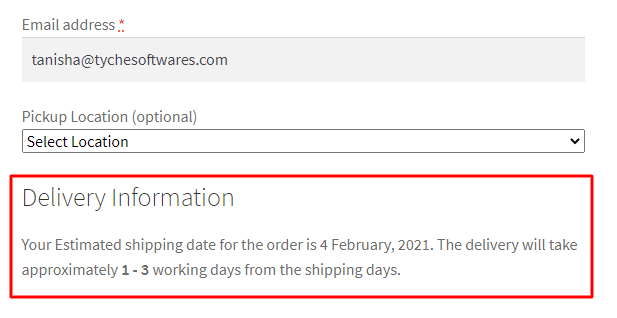
Delivery Date field on Cart page: Admin Setting
If the ‘Delivery Date field on Cart page’ is enabled then your customers will find the Delivery Date and Time on their Cart page along with their Checkout Page.

As for the examples of how this setting appears on the front-end, we have already shown you how some of the settings related to Delivery Date and Time, such as ‘Estimated Delivery Date text’, ‘Show Calendar always open setting’, ‘Show time slots in list view’, etc. will appear on the Cart Page.
Conclusion
Changing the labels of Delivery Date and time fields on the checkout page will take only 10 minutes of your time. This will help your field more informative on the checkout page.
You can also change the field placement on the checkout page. We will be discussing that in our next post.