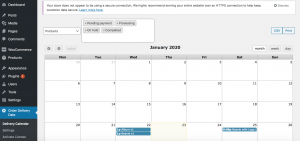
In one of our previous posts, we talked about how one can view deliveries in the back-end when you’re the admin. Once the orders have been placed, all its delivery details are seen in the back-end under the Delivery Calendar page. We can filter and sort results as per our requirements. They may be viewed in a monthly, weekly and daily category along with the status of the order.
Today, let’s begin with how to use the CSV and Print functionalities. To make things easier, we’ll divide the article into two parts:
- The CSV format
- The Print format.
What is the CSV format?
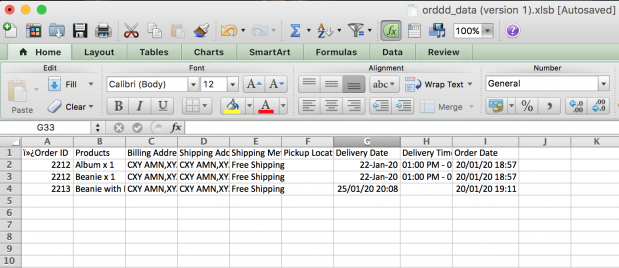
The CSV format can be used to export deliveries. You can use the order status filter and the month, week and day option of the calendar to filter export data.
How do we make the most of it?
To begin with, make your way to the order delivery date settings icon on the main menu and click on the delivery calendar icon. Once the page loads, you’ll find that the top-right corner of the page has two buttons, CSV and Print. Choosing the CSV option in tandem with the order status filter by adding the month, week or day option will highlight the relevant data for export.
For instance, if we want to sort the orders using a month filter, click on the month icon below the CSV button which will then highlight the orders that fall under that month. You can then proceed to download the data, which may then be opened in an excel sheet.


What is the Print Format?
Similar to the CSV format, Print enables us to print the data using the order status filter and month, week and day options of the calendar to print data.
How do we make the most of it?
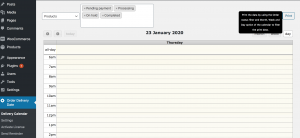
To use the print functionality of the order delivery date setting, click on either the day, week or month icons below the CSV and Print buttons. Once you’ve chosen the filter, the orders data that falls under the category will become highlighted. Pressing the print button will lead you to a new window that displays the order data in a tabular format that can be printed.
For instance, if we want to print out the order data for the 22nd of January, we need to use the day filter. Upon clicking on the day filter, we find that the column with the specific order gets highlighted. When we click the print button, the new window displays the orders that are to be delivered on the 22nd.


The CSV and Print functions make managing your orders a cakewalk.
Modify Print and CSV format:
Our Filter Reference provides hooks that allow you to modify/add columns and rows of data exporting in Print and CSV files. Below are the hooks which you can use:
orddd_print_columns: Use this hook to add additional columns in the Print format.
orddd_print_rows: Use this hook to add values in raw for added additional columns.
orddd_csv_data: Use this hook to customize delivery information in the CSV format which is exported from our plugin.
Refer to examples added in the documentation here. After customizing the examples based on your needs, you can place them in your theme’s functions.php file.