In this post, we will discuss how you can change Delivery Date calendar on the Checkout Page in Order Delivery Date Pro for WooCommerce plugin. You can change the calendar language, date format, time format and much more options. All the options are explained in this post.
You can setup this under Order Delivery Date -> General Settings -> Appearance -> Calendar Appearance.

Show Delivery Dates in dropdown: Admin Setting – Yes
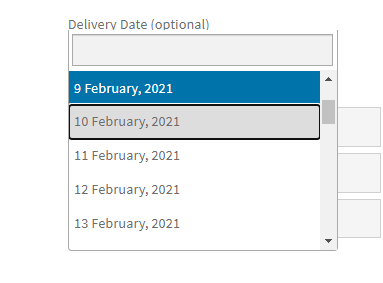
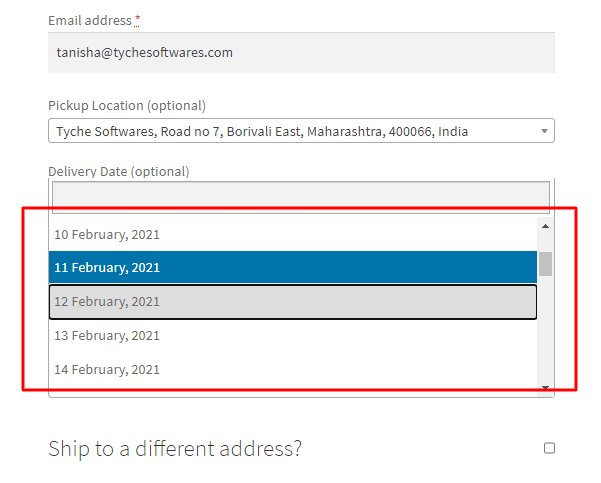
Instead of showing a delivery calendar, you can now choose to display your delivery dates in a dropdown list. To do this, you can simply go to Order Delivery Date > Settings > General Settings > Appearance. Here’s you’ll find an option called ‘Show Delivery Dates in dropdown’. You can either choose ‘Yes’ or ‘No’. By default, the setting is selected as ‘No’.

Show Delivery Dates in dropdown: Cart and Checkout Page
Once, you select the dropdown option ‘Yes’, your delivery dates will be displayed in a dropdown on the Cart and Checkout Page.
Calendar Language: Admin Setting
The plugin provides 64 different languages from which you can set the language as per your store’s language. The default language selected for the calendar is English UK.
Sometimes, the customers want that the language of the delivery date calendar on the checkout page should match the language of the website. For example, you deliver your products in France and French is the language which is majorly used in France. So you want that the calendar should appear in the french language. You can select the french language in the Calendar Language dropdown.

Please note that the Calendar Language option is available to you regardless of the settings for ‘Show delivery dates in dropdown’. If you choose ‘Yes’ for the setting ‘Show delivery dates in dropdown’ then for the Calendar Language option to work, you will need to set the site language to the Calendar Language. For example, if your site language is Spanish and your Calendar language is English US, then the checkout page will show the calendar date in Spanish. In order to show the Calender date in English US, you will have to set the site’s language to English US too!
Calendar Language: Checkout page
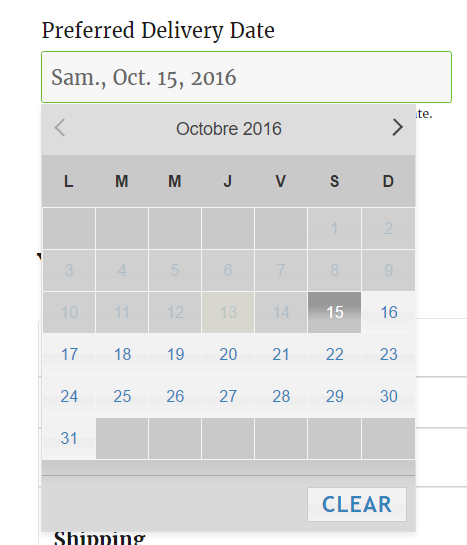
This is how the delivery date calendar will appear on the checkout page with the French language.
Date Format: Admin Setting
Different countries around the world use different date formats. For example, France country uses dd-mm-yyyy, Germany uses dd.mm.yyyy format. Some of the countries also use date formats with the month names like d MM, yy. Here d refers to the date, m refers to the month and y refers to the year.
The default date format from the plugin is d MM, yy which will be like 12 October, 2016. And you can set the necessary date format as per your country.

Date Format: Checkout page
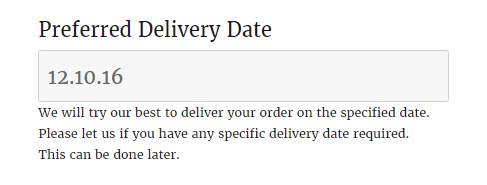
The selected date from the calendar will appear in the format set. So, in the above example, the selected date format is 12.10.16. And this is how the date will appear on the checkout page.
Do you want to use your custom date format? If yes, you can use orddd_custom_date_formats hook. Refer to this documentation for the understanding of this hook.
Time Format: Admin Setting
Same as the Date Format, different countries use different Time format to display the selected time. There are two types of time formats, 12 Hour and 24 Hour and you can use them as per the country in which your store locates. The default time format set from the plugin is 24 Hours.
12 Hour format will display the time in the AM/PM format with 1 to 12 in sequential order, whereas the 24 Hour format uses the full 24 hours.
The time format option will work both on the Time sliders with the preferred range as well as on the time slots set.

Time Format: Checkout page
12 Hour format will appear as below on the checkout page with the time range. This will work same for the Time slots.
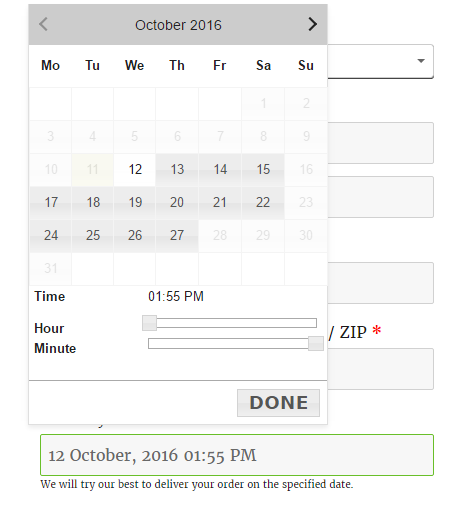
24 Hour format will appear as below for the time slot on the checkout page. Same will work with the Time range too.
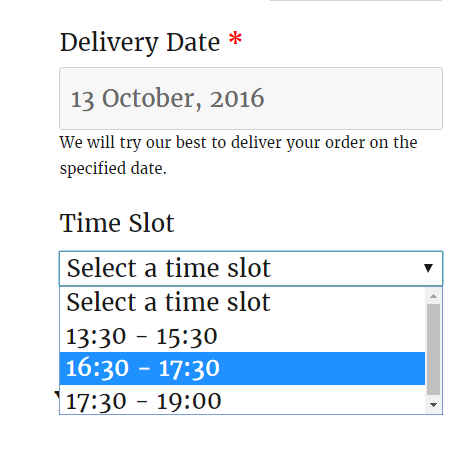
Show Delivery Dates in dropdown: Admin Setting- No
If you choose the admin setting as No, then along with the previously mentioned settings like Calendar Language, Date Format, and Time Format, you will get the following settings -Calendar Display Mode, First Day of Week, Number of Months, and Theme.
Calendar Display Mode: Admin Setting
Instead of having to click on the text input field to make the calendar visible on the Cart and Checkout Page, you can simply keep it visible at all times by configuring the ‘Calendar Display Mode’ setting. After choosing ‘No’ under the ‘Show Delivery Dates in dropdown’ setting, you can go to the option titled ‘Calendar Display Mode’. Here, you’ll find a dropdown with the options ‘Show Calendar always open’ and ‘Open Calendar on click on input field’.

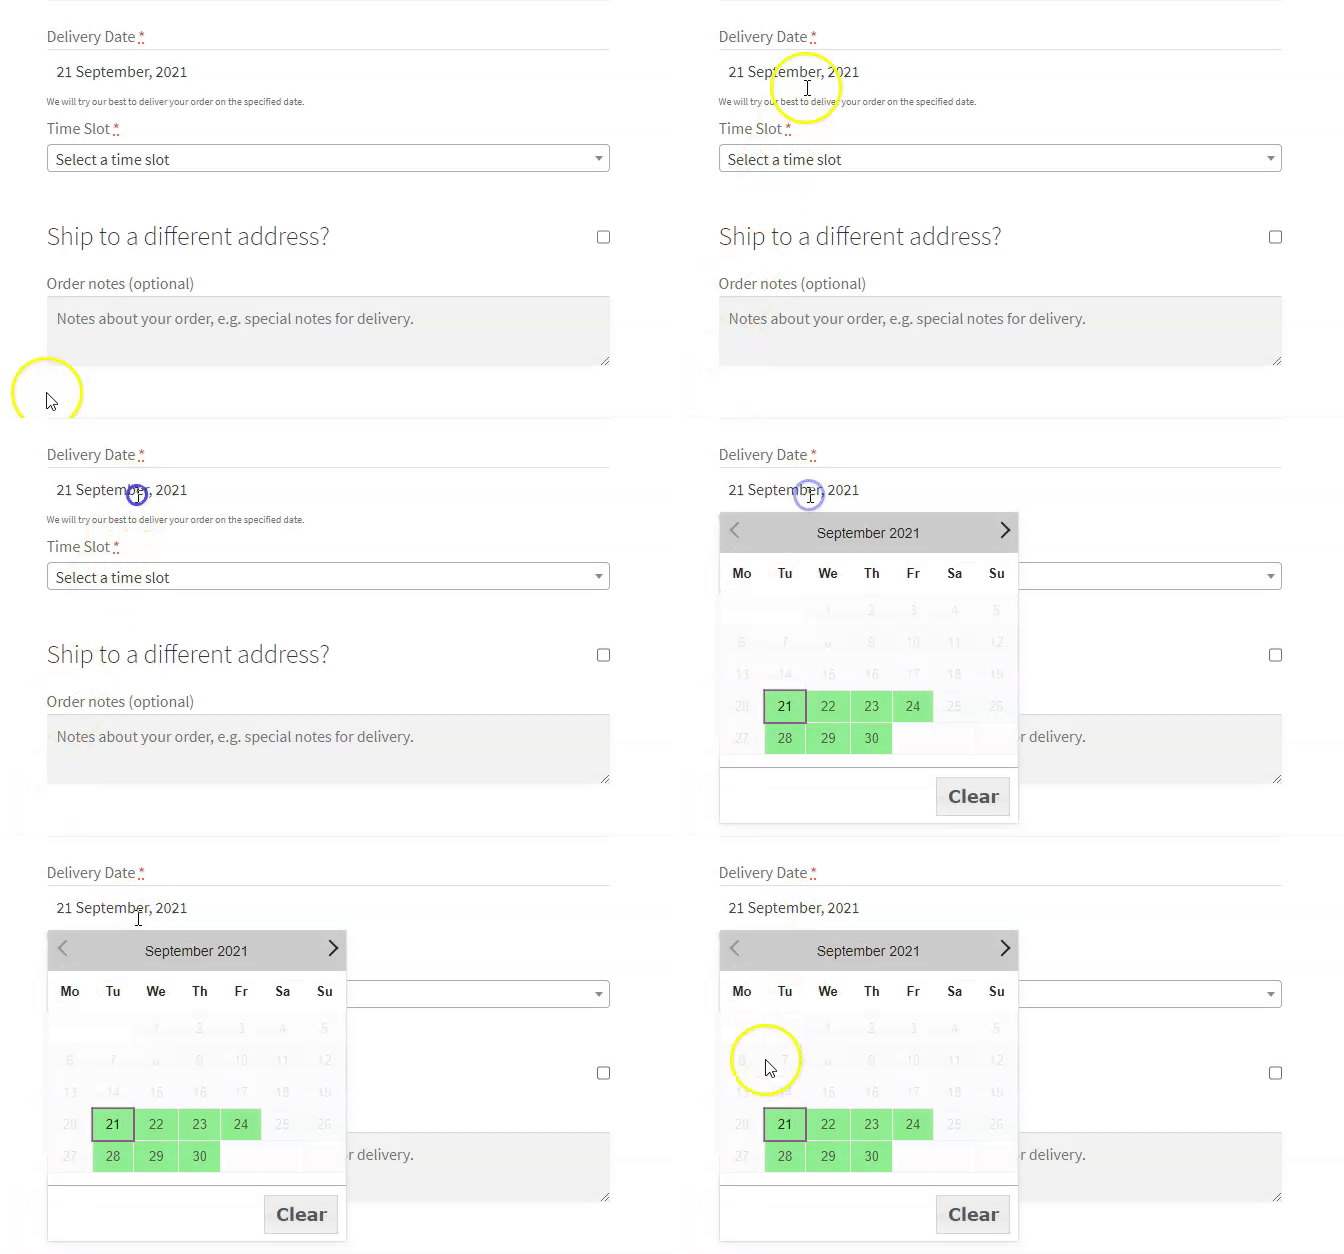
The first one is ‘Open Calendar on click of input field’. This means that your customer will have to click on the Delivery Date field to open the Calendar.
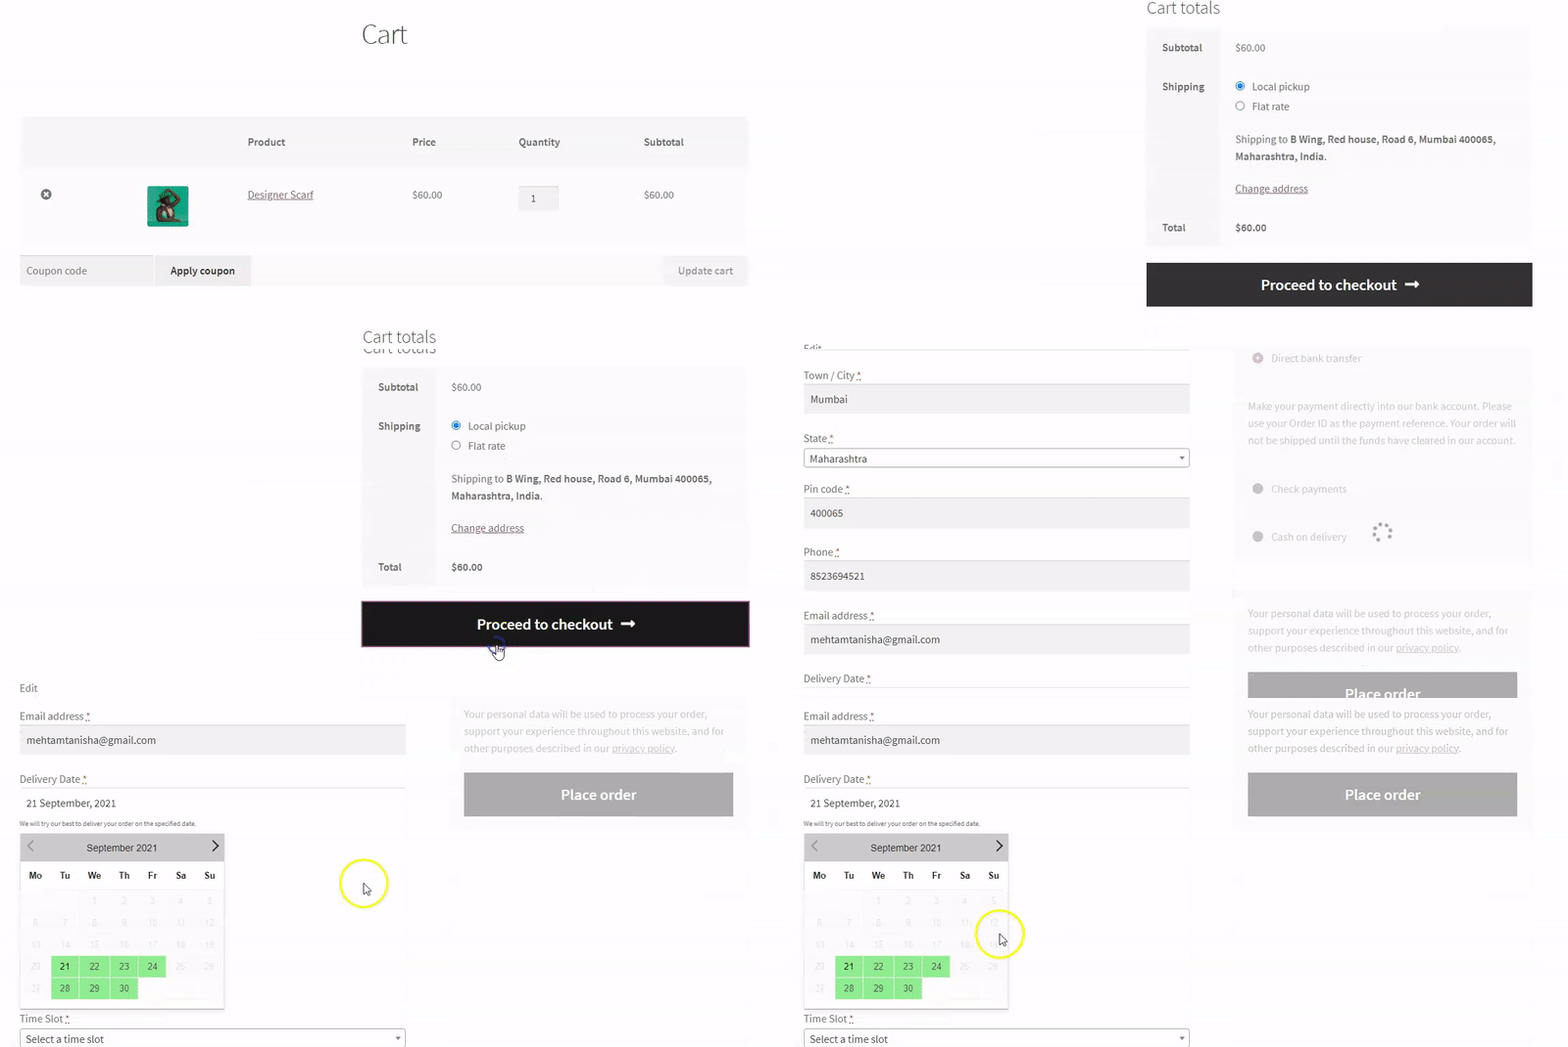
The second one is ‘Show Calendar always open’. This means that your customer will not have to click on the Delivery Date field to open the calendar. The inline calendar will be displayed to them directly.
Calendar Display Mode: Cart and Checkout Page
This is how the Calendar Display mode will appear if you have selected ‘Open Calendar on click of input field’ setting.
Here is how it will appear if you have chosen ‘Show Calendar always open’ setting:
Please note: If you have set Delivery Date as a dropdown, then you will not get the option to enable the Inline delivery calendar a.k.a ‘Show Calendar always open’ setting. This means that the inline calendar does not work with Delivery Date as a dropdown.
First Day Of Week: Admin Setting
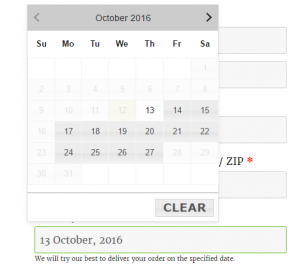
First Day of Week means the weekday on which you want the Delivery Date calendar to start with. For example, you want that the calendar should start on Sunday on the checkout page, then you can select Sunday as the First Day of Week, if you want to start the calendar from Monday then you can select Monday as the First Day of Week.

First Day Of Week: Checkout Page
If you select Sunday as the first day of the week so your calendar will start on Sunday.
Number of Months
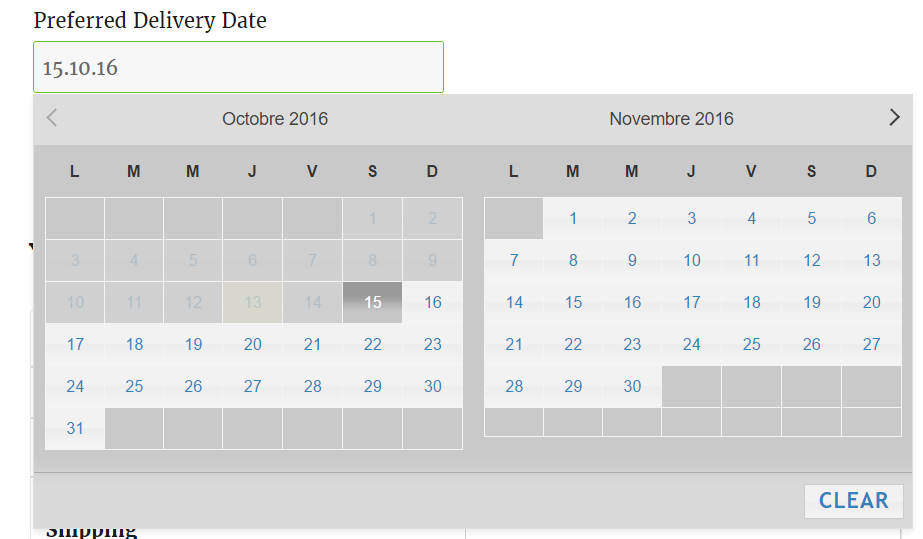
By default, only one month is shown in the Delivery Date calendar on the checkout page. But, some of the customers want to display the available dates for delivery for next 2 months, so their customers can check if the delivery date on which they want delivery is available or not at a glance. So you can set the Number of Months to 2 in the option.

Number of Months: Checkout Page
This is how the Delivery Date calendar appears on the checkout page with 2 months.
Calendar Themes
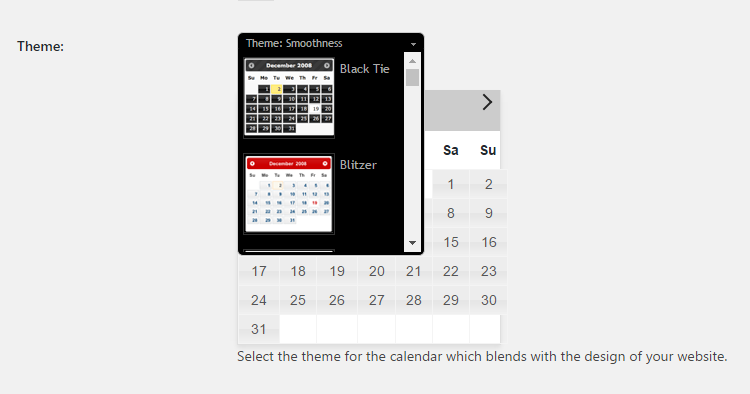
Sometimes, the customers ask if there are any themes provided for the Delivery Date calendar which can match the theme they are using on your website. The plugin provides 24 different themes, from which you can choose the theme which matches your store theme. In most of the cases, you will find one the theme which will match.
Calendar Themes: Checkout Page
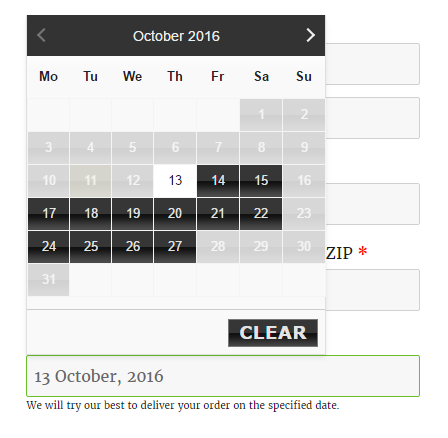
The selected calendar theme will appear like this on the checkout page.
Conclusion
Setting up the appearance of the Delivery Date calendar on the checkout page will take only 15 minutes of your time. This will help you to make your delivery date calendar more presentable on the checkout page.
You can change the field appearance for the delivery date field. We will be discussing that in our future posts.