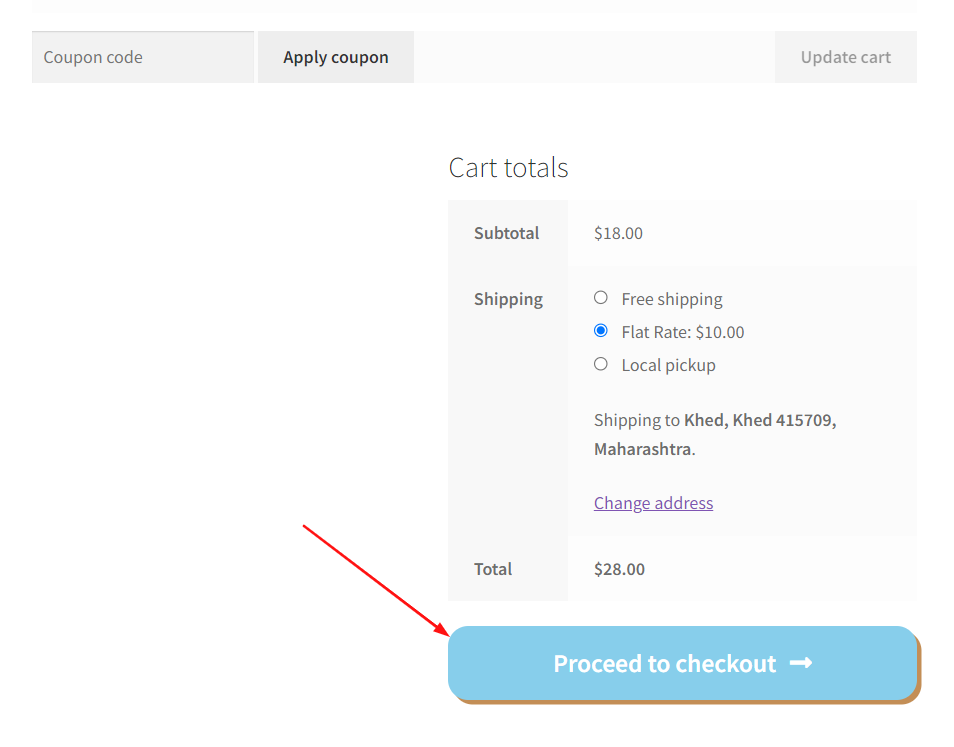
To improve the visual appeal of your WooCommerce Cart Page, you can customize the design of the “Proceed to Checkout” button. This customization enables store owners to match the checkout button’s appearance with their brand colors and overall design theme. For instance, you can change the button color to coordinate with a holiday theme. You can apply a stylish design to your checkout button by using the following code snippet.
add_action('wp_head', 'ts_cart_proceed_to_checkout_button_styles');

function ts_cart_proceed_to_checkout_button_styles() {
    if (is_cart()) {
        echo '<style>
            .wc-proceed-to-checkout .button.checkout-button {
	           background-color: skyblue;
	           border-radius: 18px;
	           box-shadow: 4px 4px 0px 0px #C38E56;
             }
        </style>';
    }
}
Output
The above code snippet will style the Proceed to Checkout button on the WooCommerce Cart Page. The button will have a sky-blue background color, a border radius, and a box shadow for a visual effect.

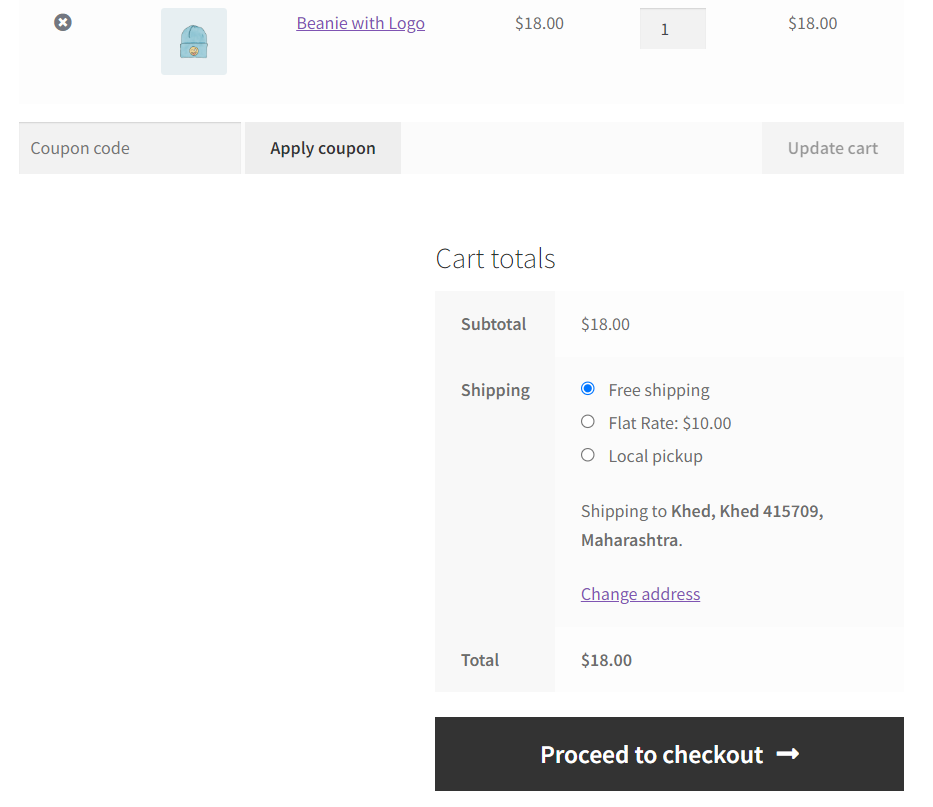
In another scenario, the WooCommerce cart page shows the default “Proceed to checkout” button style as shown below.

If you have external payment options such as PayPal in your WooCommerce store, you can remove Proceed to Checkout button from cart page in WooCommerce.

